Anti-malware File Scanner
The primary functionality of Anti-malware File Scanner application is to scan various directories of the Crystal Eye XDR for malwares. This powerful application has been designed to scan CE XDR internal directories such as home directory, network file share directory and web proxy cache. The infected files are quarantined and can be seen in the Quarantine Section. The flagged files which are quarantined can be granted access to the system using the whitelisting functionality.
The Antimalware File Scanner application is not available by default. It can be installed from Marketplace in the left-hand navigation panel.
Left-hand Navigation Panel > Security Configuration > Gateway Security > Anti-Malware File Scanner 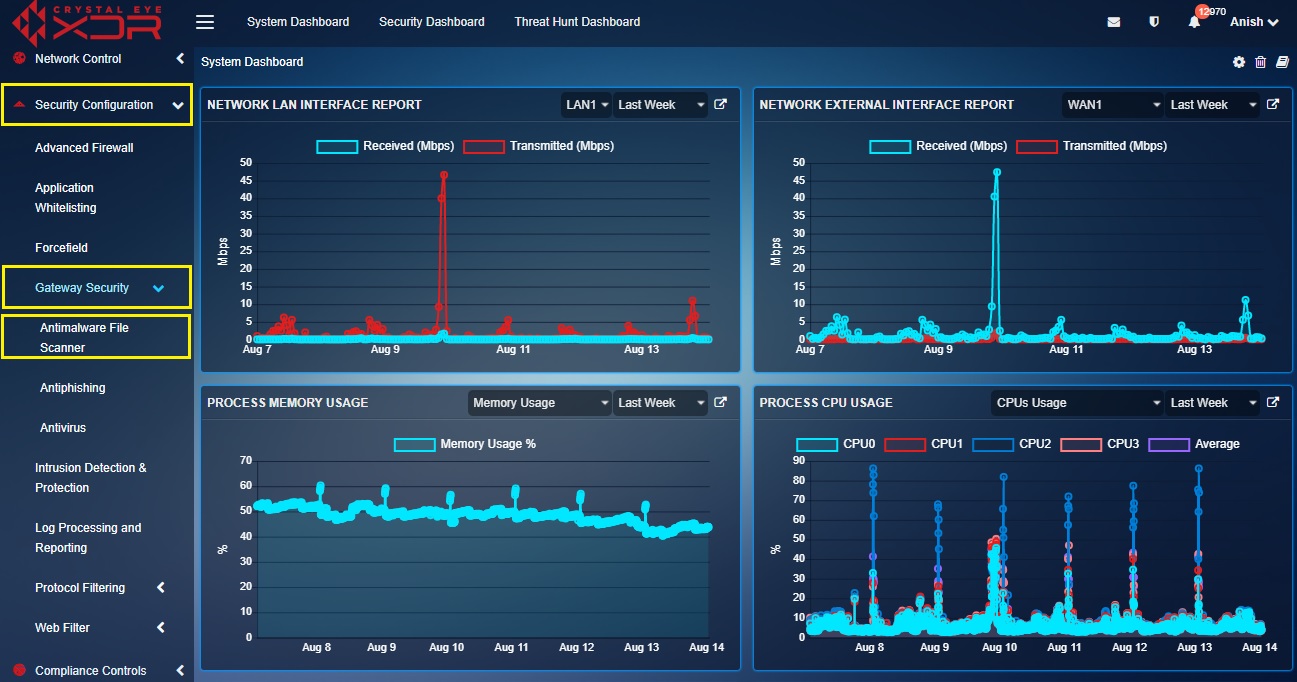 |
|---|
All Crystal Eye XDR appliances have an excellent malware scanning feature that can be initiated at a click of a button. The malware scan is programmed to sweep some key directories of the CE XDR namely, Home directory, Network File Share directory, Web Proxy Cache directory, FTP directory, Web directory, and E-mail directory. A default time can be scheduled for the scan to initiate or if there is a requirement, the scan can be done instantly.
Note: The CE administrator can only select those directories for malware scan which have data in it.
How to Scan the Crystal Eye XDR for Malwares?
Step 1: In the Anti-malware File Scanner page, click the Start button in the Scanner section.
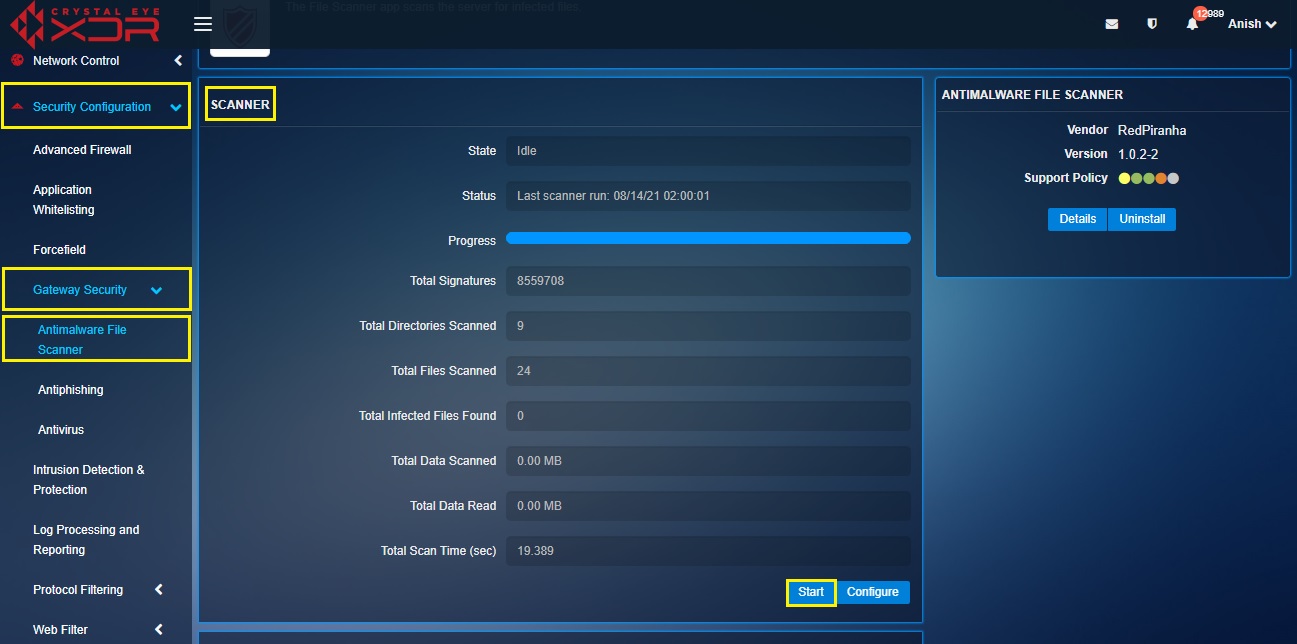
The Antimalware File Scanner has various settings which allows users to schedule scans, assign controls as to whether to move the infected files to quarantine, send email notifications of virus alerts, assign email address for notifications, and select the directories of the Crystal Eye XDR that needs to be scanned for malwares. The antimalware file scanner app can be configured to scan the home directory, network file share directory and web proxy cache directory.
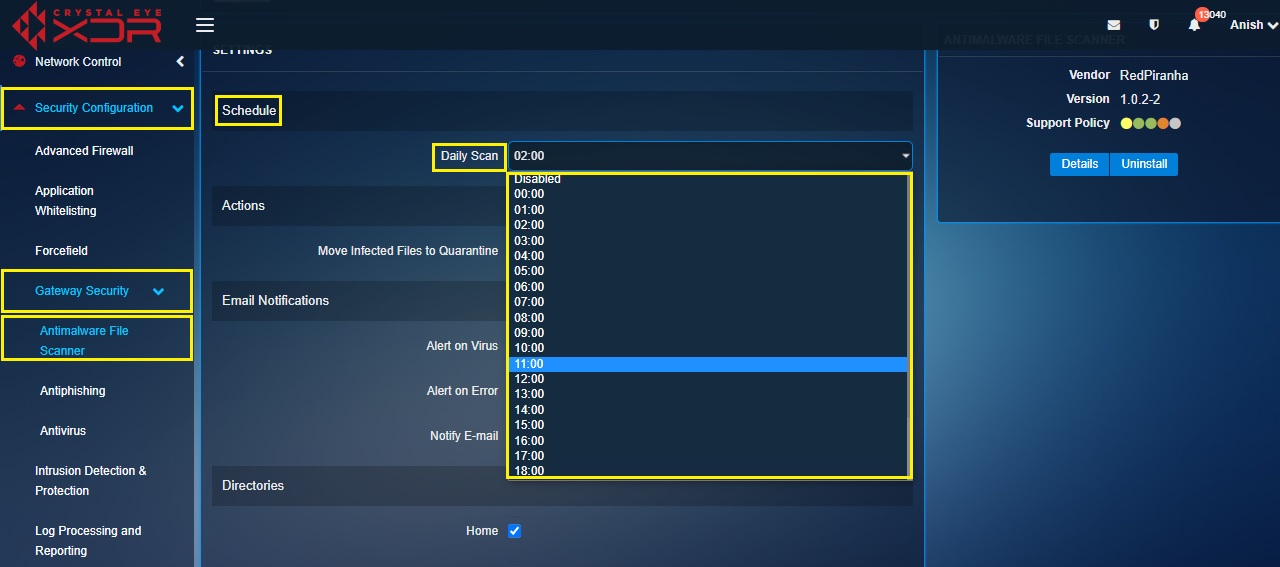
How to schedule a daily anti-malware scan to sweep CE XDR directories?
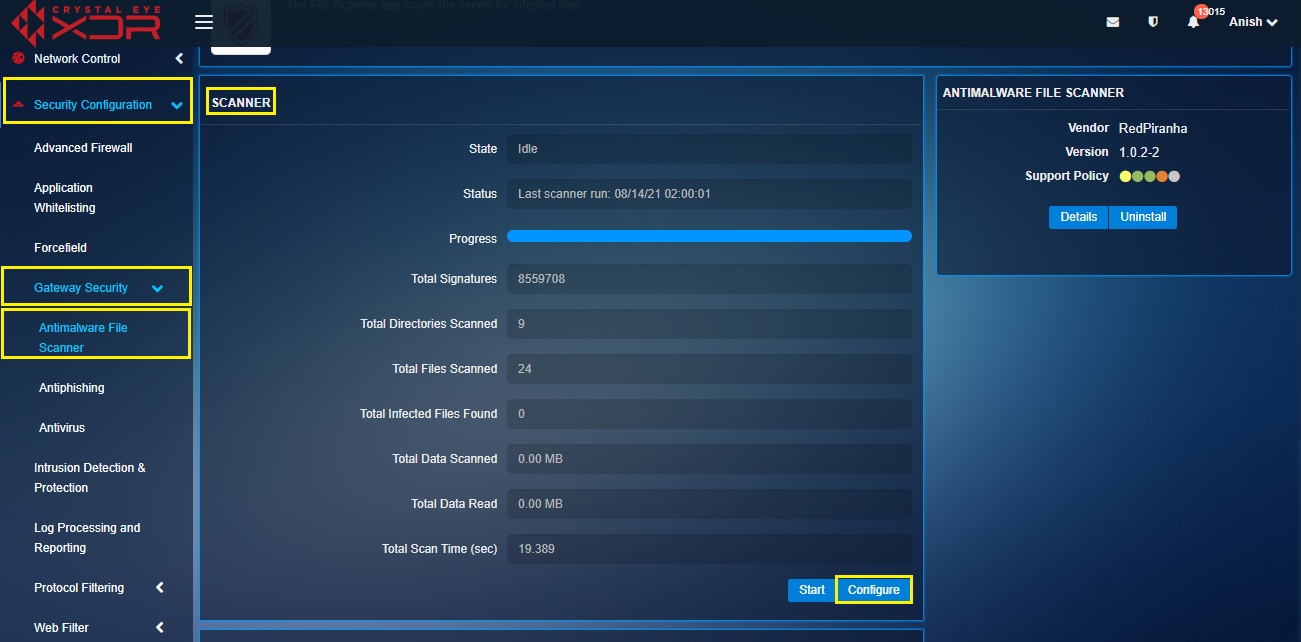
Step 1: In the Antimalware File Scanner application page, click the Configure button in the Scanner Section.
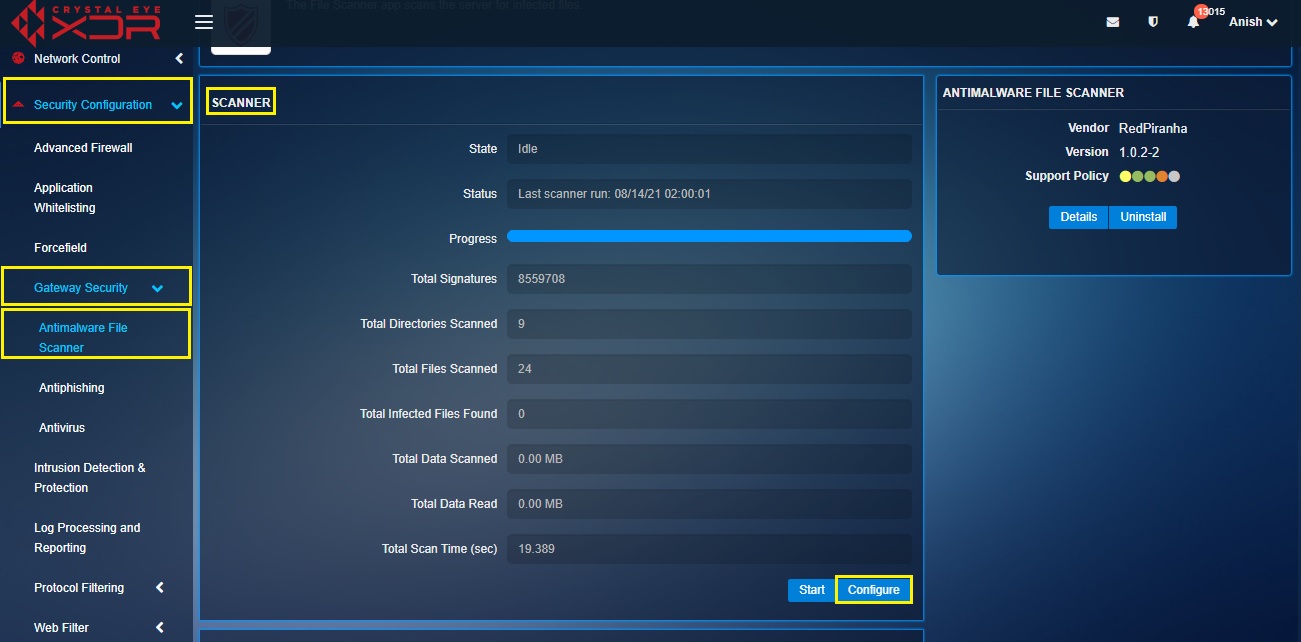
Step 2: You will now be directed to the Settings page. Click the Edit button.
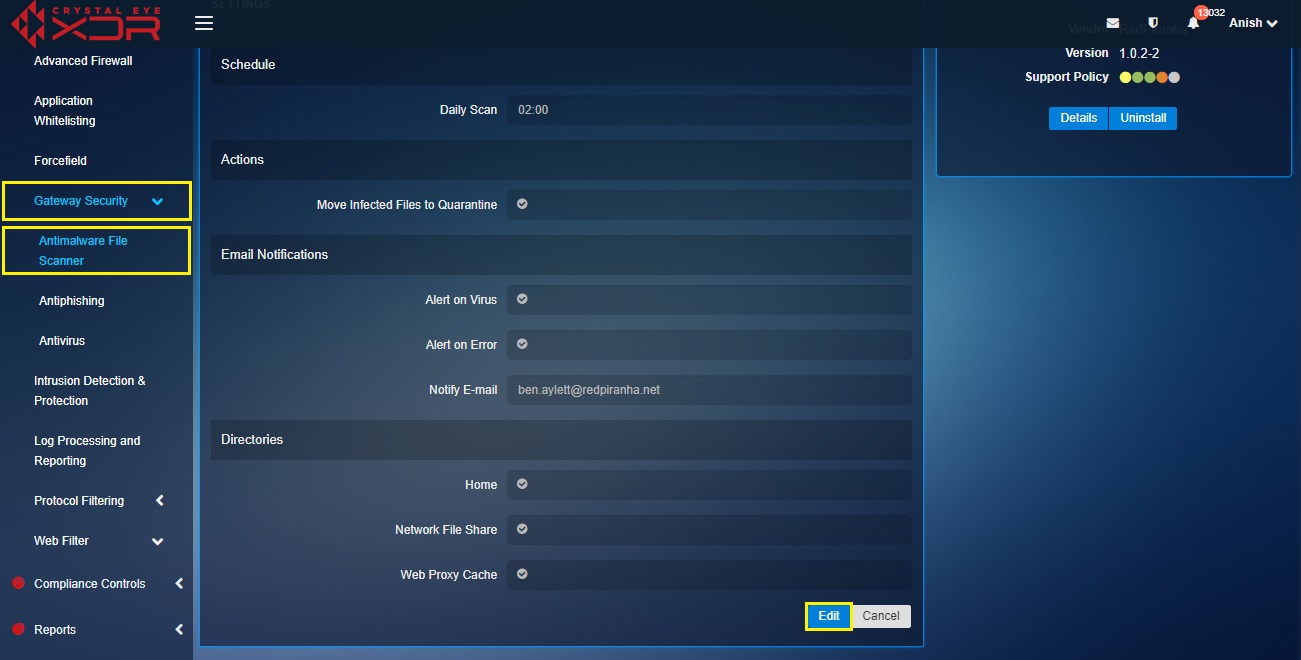
Step 3: Select the time of the day from the Daily Scan dropdown and click the Update button.
How to make sure that the infected files are sent to quarantine?
Step 1: In the Anti-malware File Scanner application page, click the Configure button in the Scanner Section.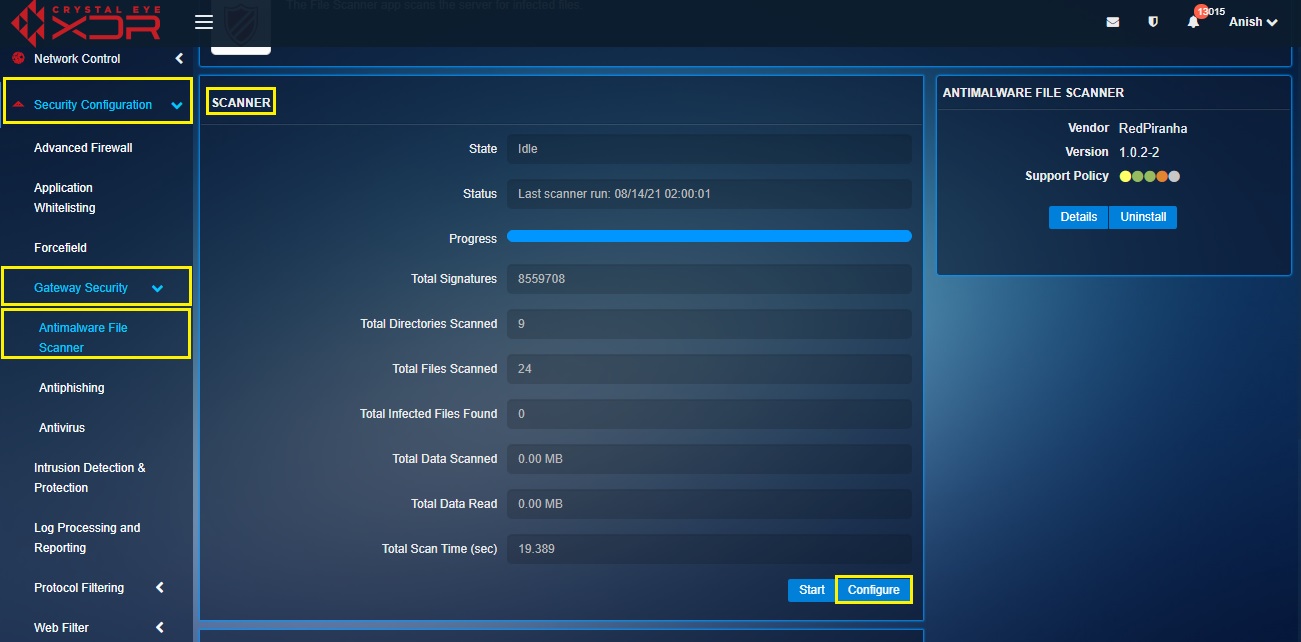
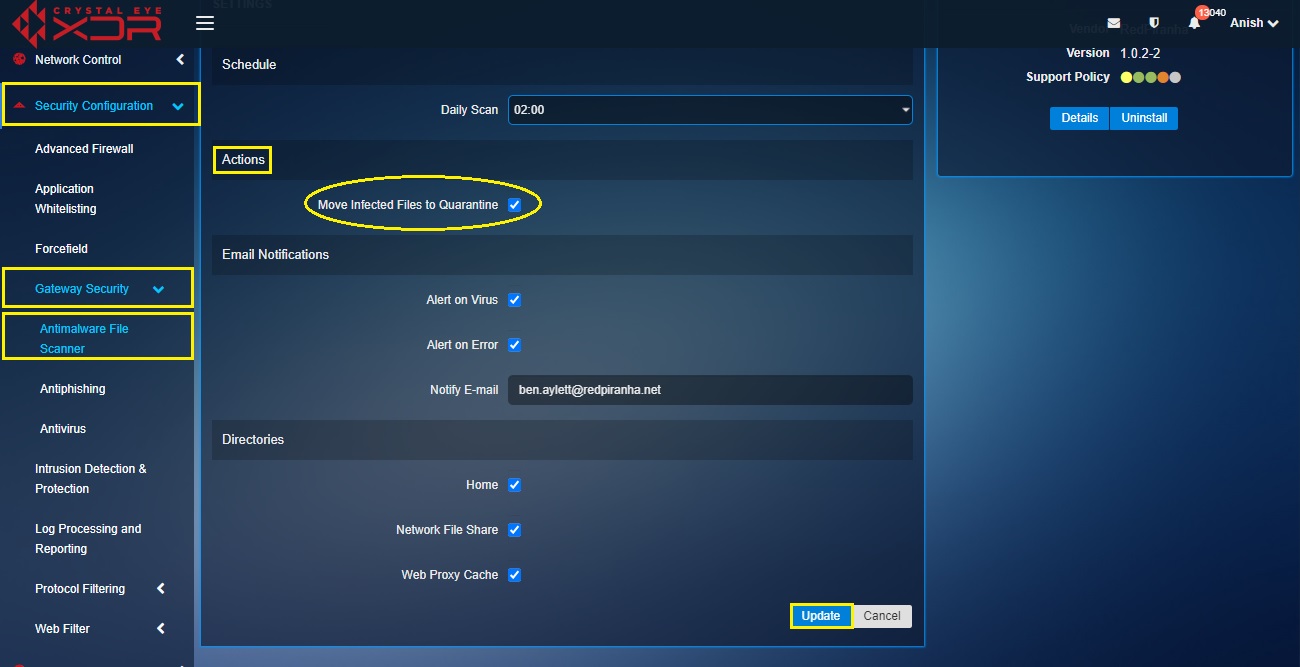
Step 2: Select the tick box next to Move Infected Files to Quarantine under the Actions section and click the Update button.
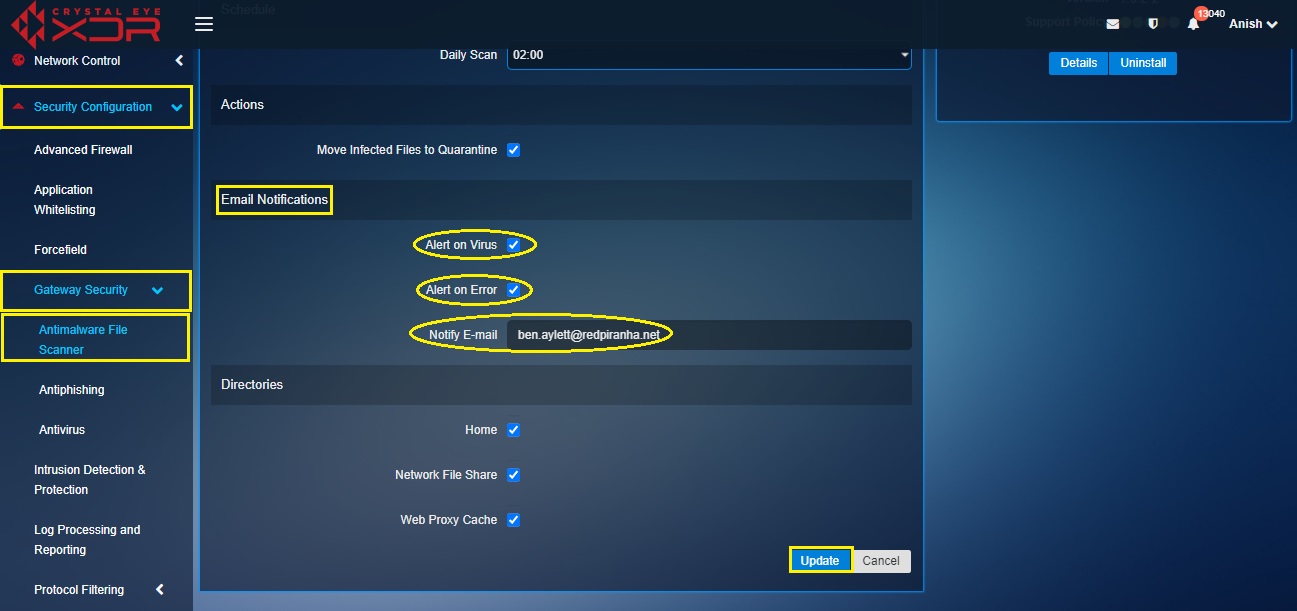
How to send email notifications to specific email address for virus alerts and error alerts?
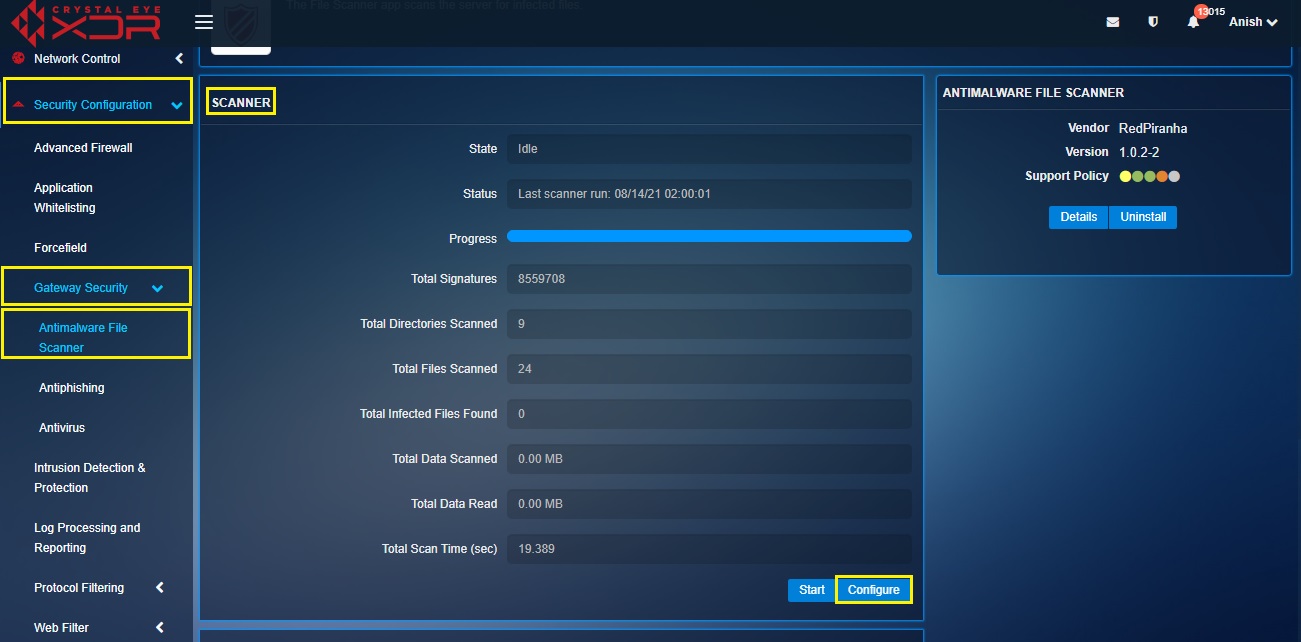
Step 1: In the Anti-malware File Scanner application page, click the Configure button in the Scanner Section.
Step 2: You will now see the Settings page. Select the tick box next to Alert on Virus & Alert on Error and enter the email address in the Notify E-mail text box.
How to choose the CE XDR directories to be scanned for malware?
Step 1: In the Anti-malware File Scanner application page, click the Configure button in the Scanner Section.
Step 2: You will now see the settings page. Check the tick box next to Home, Network File Share, Web Proxy Cache and click the Update button.
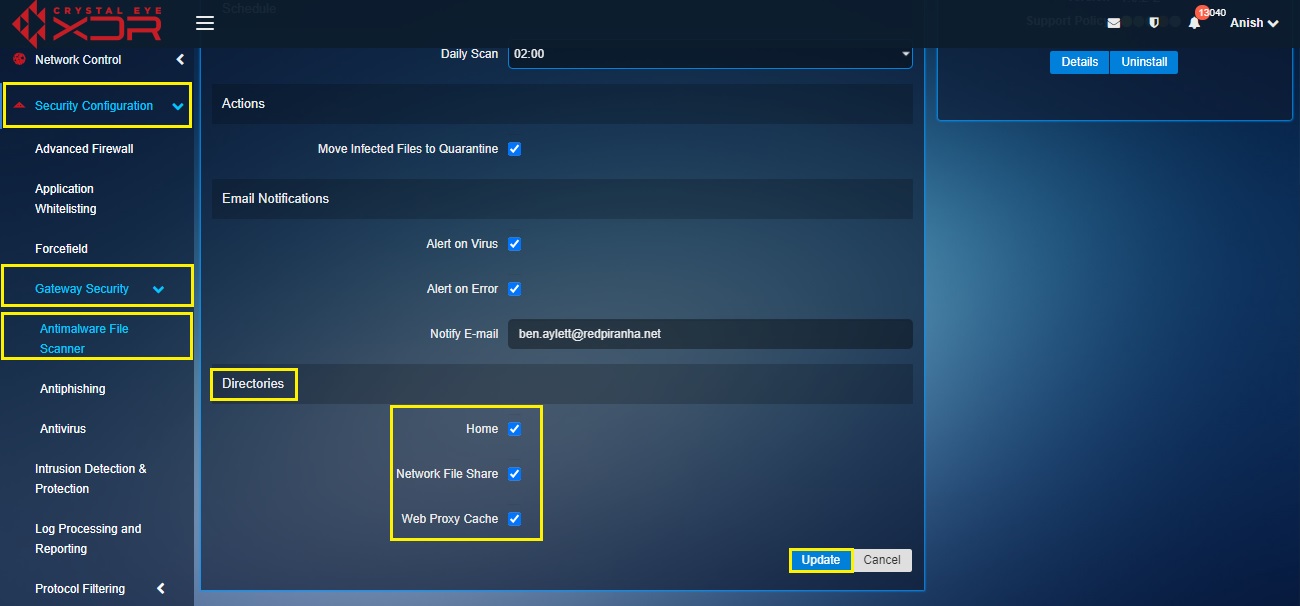
Note: This settings parameter will allow CE XDR users to choose from the three system directories available for scanning. These system directories are home directory, network file share directory and wen proxy cache directory.
This dashboard provides a detailed information of the malwares found in the directories of the Crystal Eye XDR during the scan.
Note: Reports can also be deleted from the Last Scan Result Dashboard with the help of the Clear Report button.
The Last Scan Result Dashboard provides the following information:
- Filename
- Virus/Note
- Action
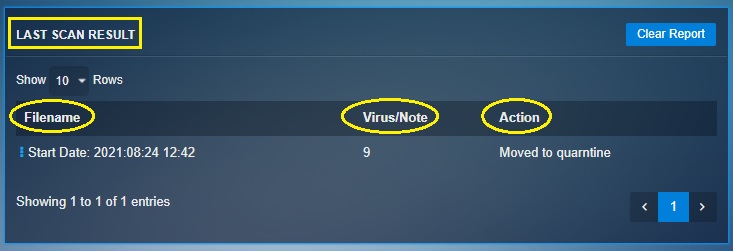
Once the scan is completed the infected file is moved to the Quarantine section. The CE XDR administrator can whitelist the quarantined file using the Quarantine button.