Mail Settings
The Mail Settings application is used to configure the primary mail domain and hostname for Crystal Eye and ensure that the outbound mail settings have been configured for system generated emails to be delivered. The app has two sections namely, Settings section and SMTP/E-Mail Notifications Section which essentially helps administrators to initiate Mail Settings.
Left-hand Navigation Menu > System Configuration > Mail Settings 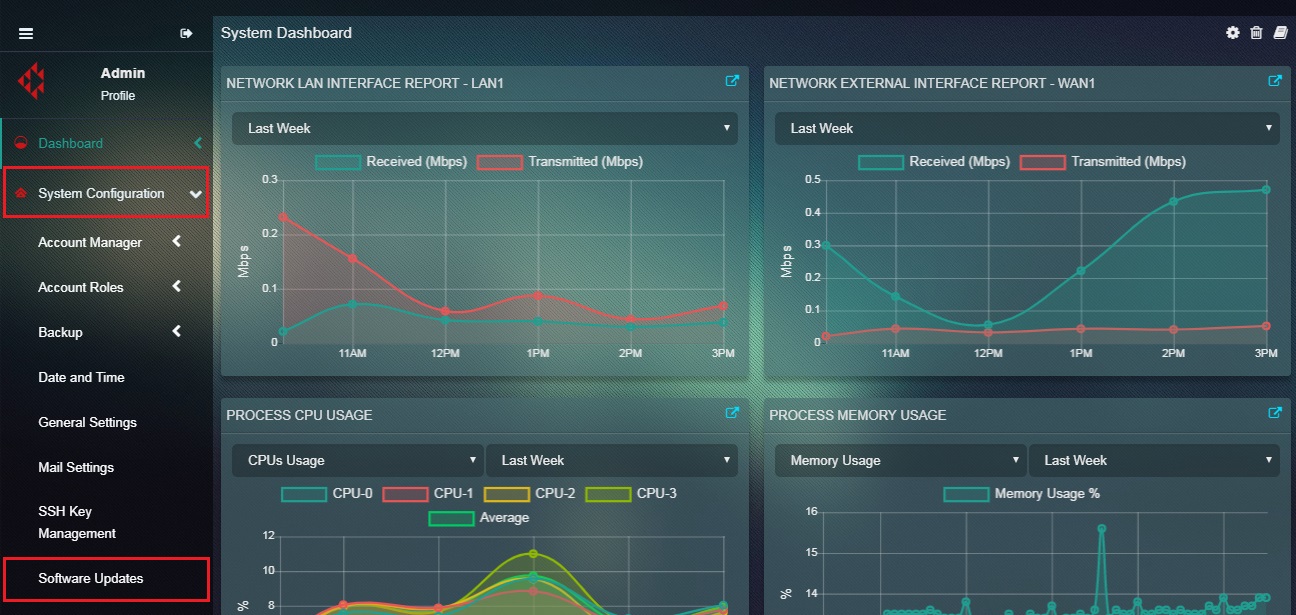 |
|---|
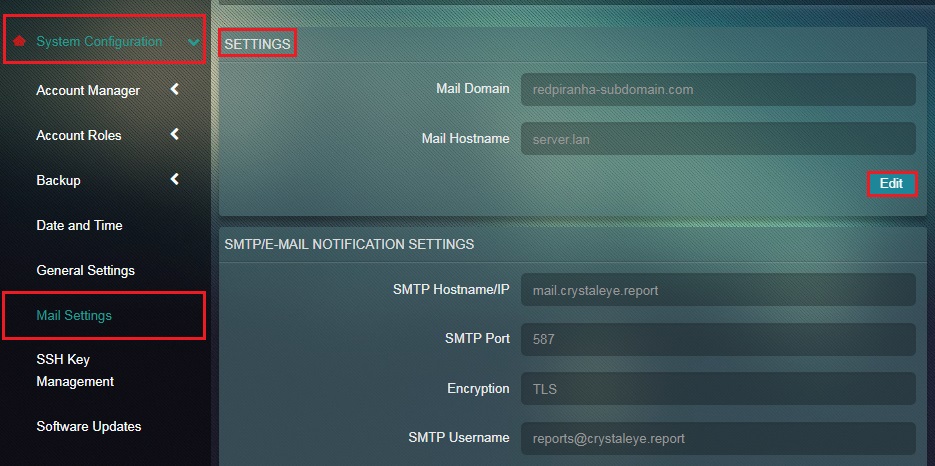
There is a provision to enter the Mail Domain and the Mail Hostname under the Settings section.
Note: By default, Crystal Eye registers the Mail Domain as redpiranha-subdomain.com and the Mail Hostname as server.lan. However, if there is a requirement to set a Mail Domain and Mail Hostname of dedicated domain it can be easily done entering the details in the Settings section.
How to Set a Dedicated Primary Mail Domain & Mail Hostname?
Step 1: In the Mail Settings app, click the Edit button under the Settings section.
Step 2: You will now see the editable version of the Settings section. Enter the Mail Domain, Mail Hostname and click the Edit button.
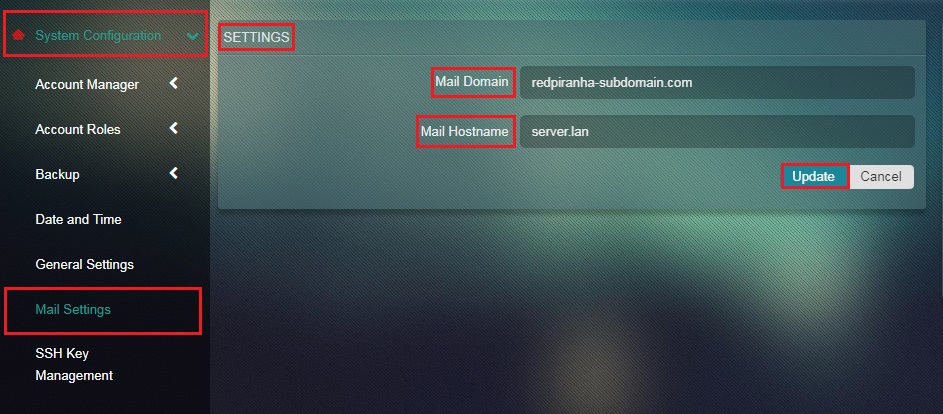
Note: By default, Crystal Eye registers the Mail Domain as redpiranha-subdomain.com and the Mail Hostname as server.lan. However, if there is a requirement to set a Mail Domain and Mail Hostname of dedicated domain it can be easily done entering the details in the Settings section.
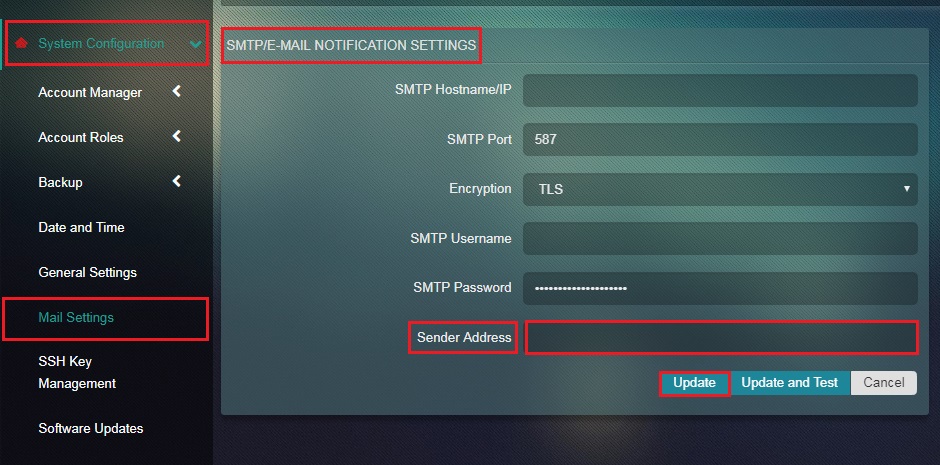
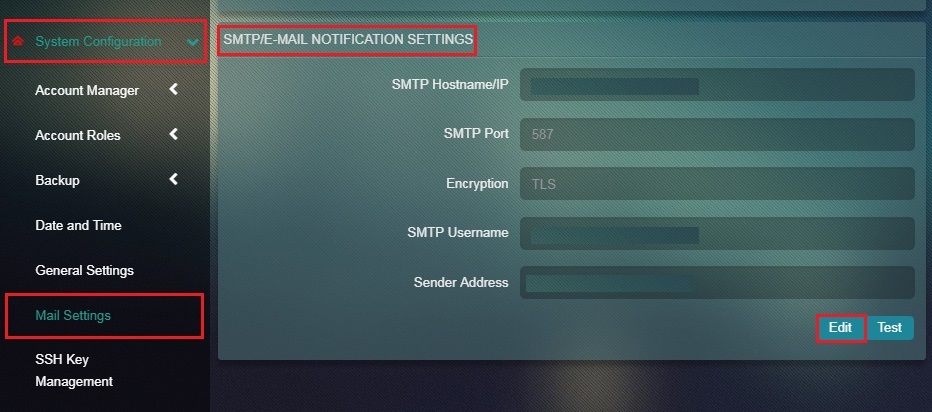
The SMTP/E-mail Notification Settings allows an administrator to configure the outbound mailing system required for receiving mail alerts. Post configuration there are provisions to ensure that the mail alerts are received by using the test features. On order to complete the SMTP/E-mail Notification Settings, the administrator would have to feed in the SMTP Hostname/IP, SMTP Port, Encryption, SMTP Username, and the Sender Address. After the information is entered the administrator can also Test the process and see whether the test email notification is sent to the designated address.
Note: Crystal Eye provides the option of opting for email encryption. The administrator can choose the encryption as None, SSL or TLS.
How to Configure SMTP Mail Settings?
Step 1: In the Mail Settings app, click the Edit button.
Step 2: You will now see the editable version of SMTP/E-mail Notification Settings section. Enter the SMTP Hostname/IP in the textbox.
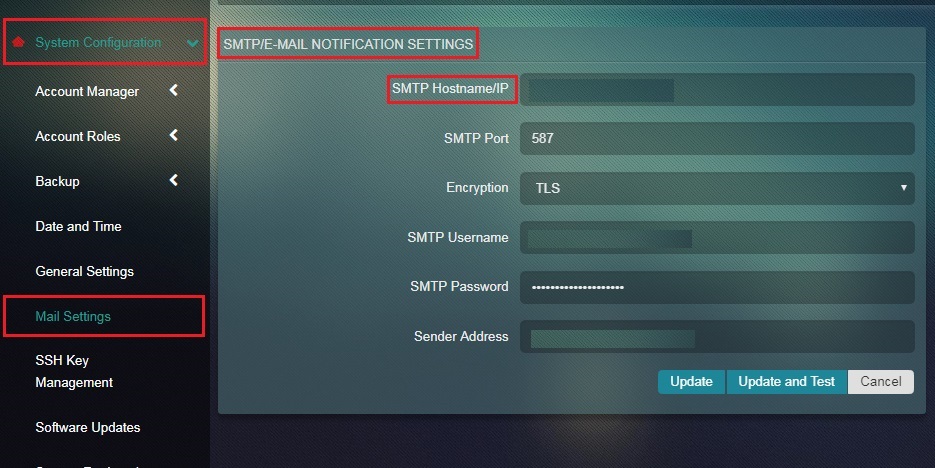
Note: The SMTP Hostname/IP is essentially the hostname of the SMTP server to which the connection is to be established. There is an option to enter the hostname or the IP address.
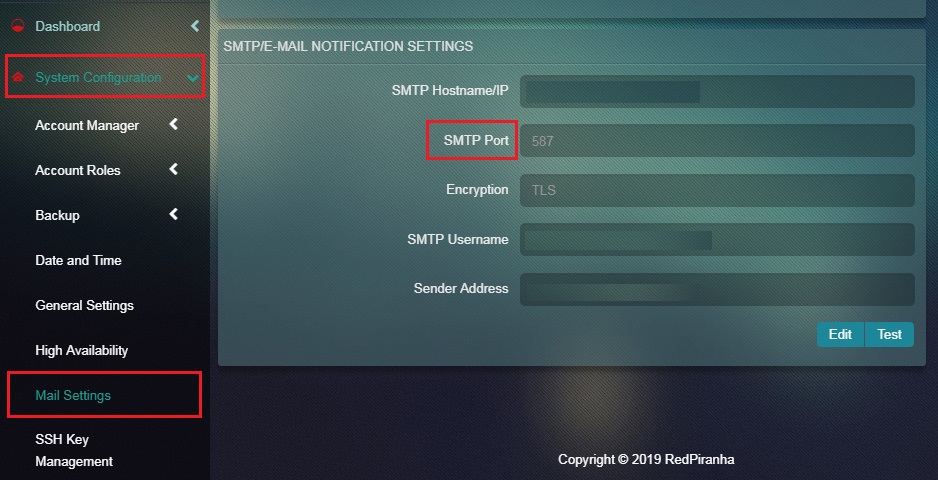
Step 3: Enter the SMTP Port Number in the textbox.
Step 4: Select the Encryption Type.
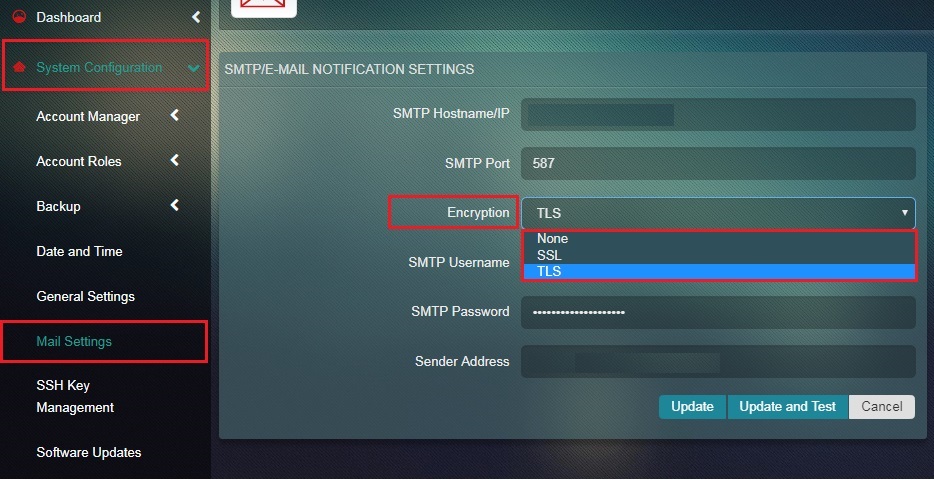
Note: The administrator has three options to select namely, None, SSL and TLS. The Encryption protocol is used while connecting to the host server.
Step 5: Enter the SMTP Username in the textbox.
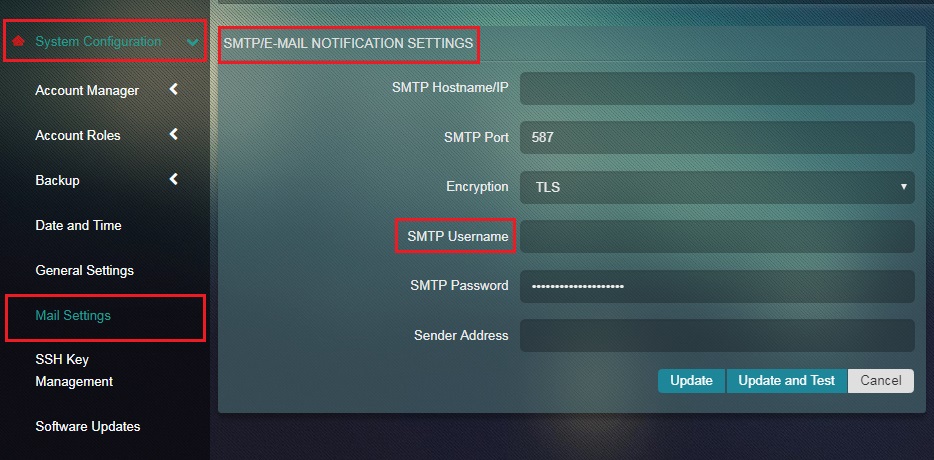
Note: The SMTP Username is a valid username to authenticate to the server.
Step 6: Enter the SMTP Password in the textbox.
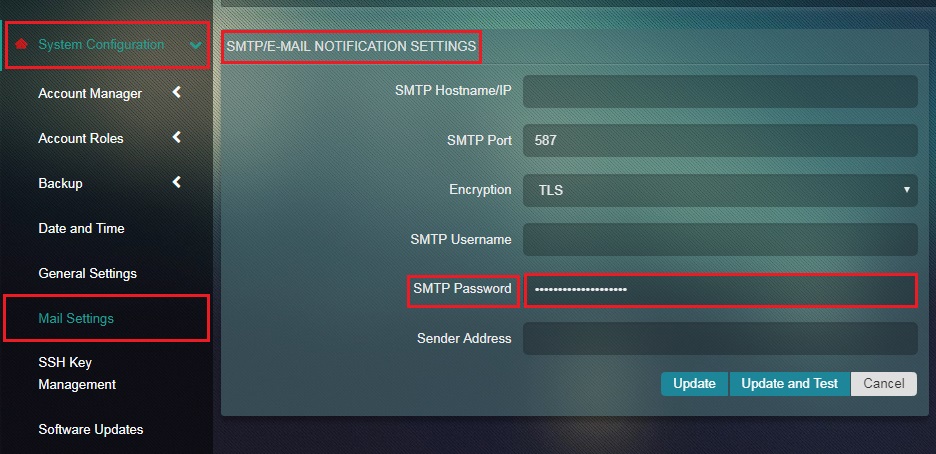
Note: The SMTP Password is a valid password to authenticate to the server.
Step 7: Enter the Sender Address in the textbox and click the Update.