Egress Firewall
Egress Firewall Application enables Crystal Eye to block or allow any outbound traffic originating from the internal network. The application can be configured to allow or block outbound traffic relating to a range of Services, Port or Port Range. Another important functionality that must be noted is that the network traffic directed to a particular Domain can also be blocked by adding the host name or IP address.
Effective usage of the Egress Firewall application involves understanding the outbound information flow of a designated network. For instance, denying permit for the flow of outbound network traffic may lock down the internal systems and improve security but it might also lead to a higher degree of inconvenience and instability caused due to blocked services in the network. Therefore, it’s also important to design a favourable cyber security posture so that a balance can be maintained while configuring Crystal Eye’s Egress Firewall Application.
Left-hand Navigation Panel > Security Configuration > Firewall > Engress Firewall 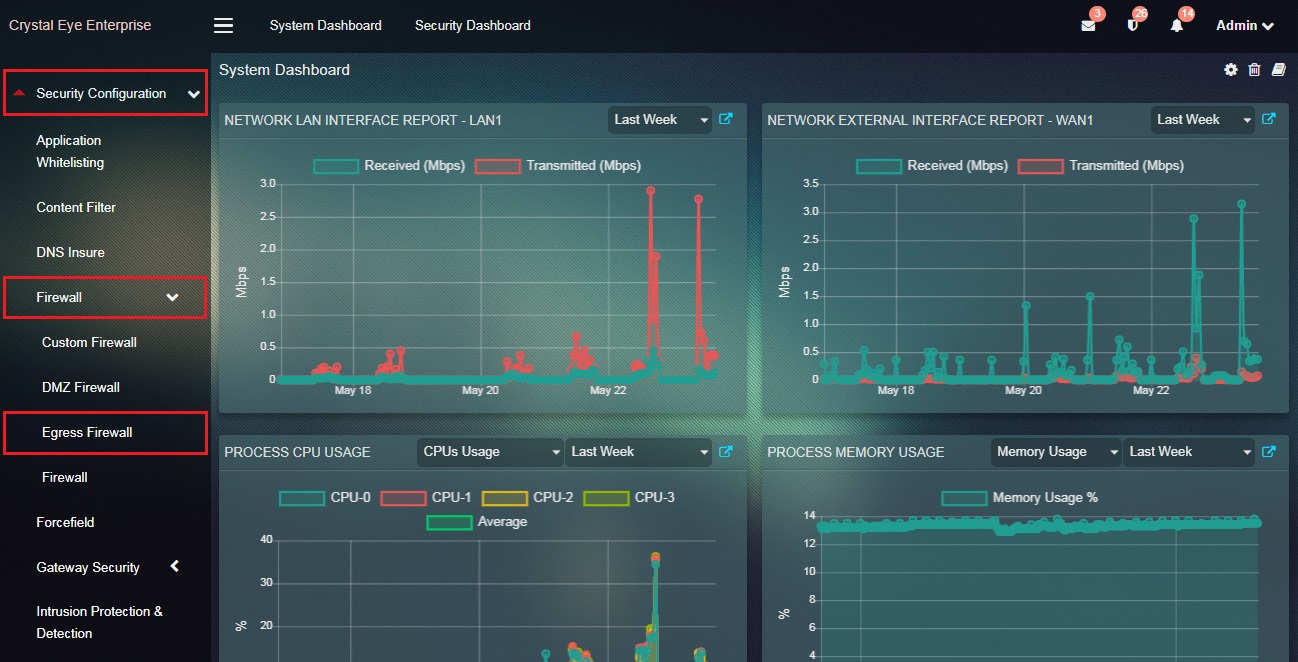 |
|---|
The configuration process of the Egress Firewall application can be divided into two parts based on the mode selection. The mode selection determines whether the outbound traffic flow should be permitted by default or be denied permission by default. Whichever mode is selected, the administrator can allow or block connections based on a Service, Port, Port Range and Domain.
The Egress Firewall application can be setup to allow outbound traffic with exceptions or deny permit for outbound traffic with exceptions.
The two mode selections of Egress Firewall Application are:
- Allow all outgoing traffic – specify block destinations
- Block all outgoing traffic – specify allowed destinations
How to Select Mode Selections of Egress Firewall?
Step 1: In the Egress Firewall Application page, click the Edit button under the Mode section.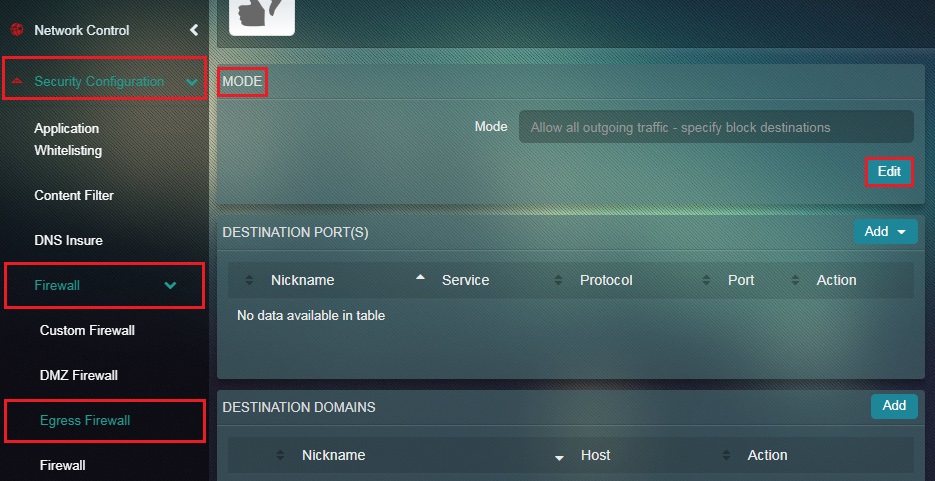 Step 2: Select the Mode from the dropdown and click the Update button.
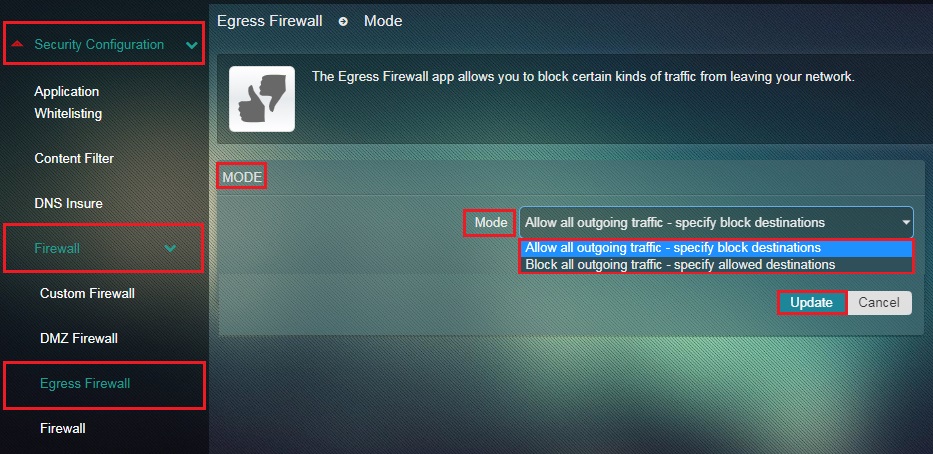
Note: The two modes that can be selected here are Allow all outgoing traffic – specify block destinations and Block all outgoing traffic – specify allowed destinations.
Based on the selected Egress Firewall mode, the administrator can allow or block all outgoing traffic based on a service, port or port range.
Note: If Egress Firewall app mode is set as Allow all outgoing traffic – specify block destinations mode then the administrator will be able to block a specific Service, Port and Port Range. However, if the mode is set to Block all outgoing traffic – specify allowed destinations then the network traffic related to a specific Service, Port or Port Range can be allowed.
How to Block a Specific Service if Allow All Outgoing Traffic – Specify Block Destinations Mode Has been Selected?
Step 1: In the Egress Firewall Application page, click Add dropdown button in the Destination Port(S) section.
Note: Make sure you have selected Allow all outgoing traffic – specify block destinations in the Mode section.
Step 2: You will now see the options dropdown. Click the Add by: Service option. 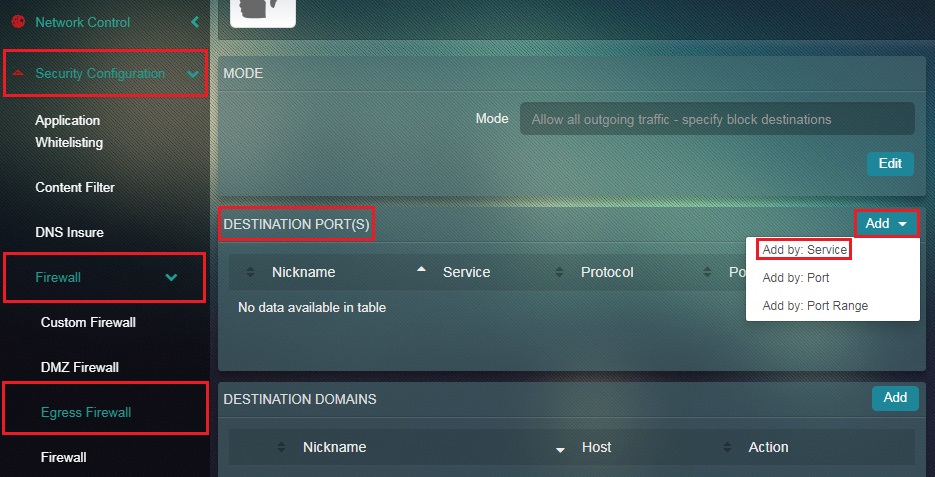 Step 3: You will now be directed to the Standard Service Page. Select the Service that needs to be blocked from the dropdown and click the Add button.
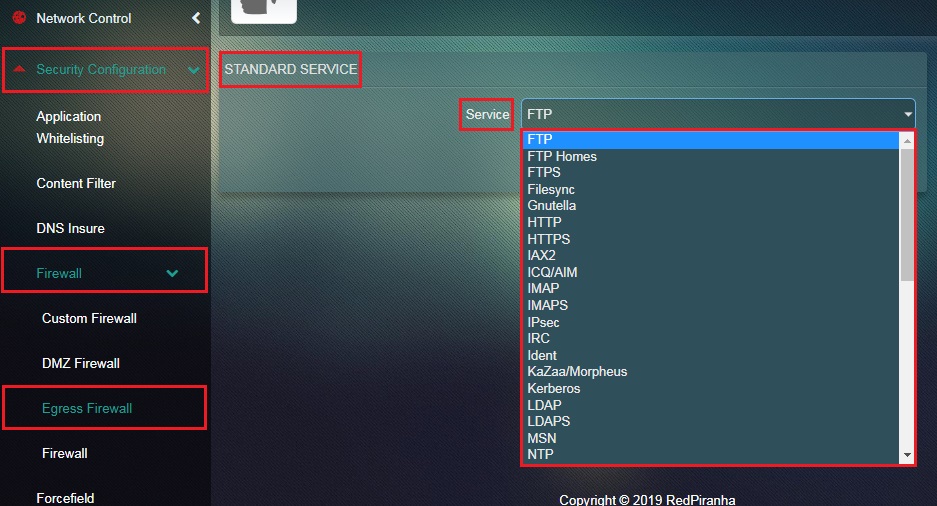
How to Block a Specific Port if Allow All Outgoing Traffic – Specify Block Destinations Mode Has been Selected?
Step 1: In the Egress Firewall Application page, click Add dropdown button in the Destination Port(S) section.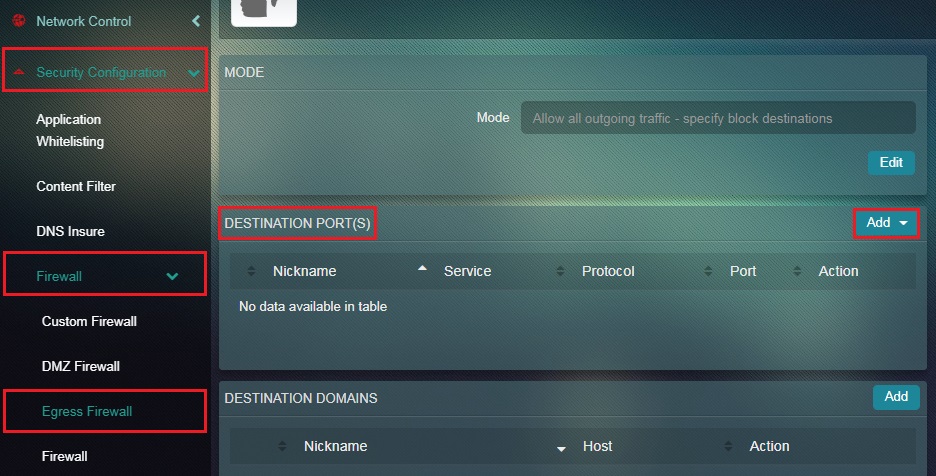
Note: Make sure you have selected Allow all outgoing traffic – specify block destinations in the Mode section.
Step 2: You will now see the options dropdown. Click the Add by: Port option. 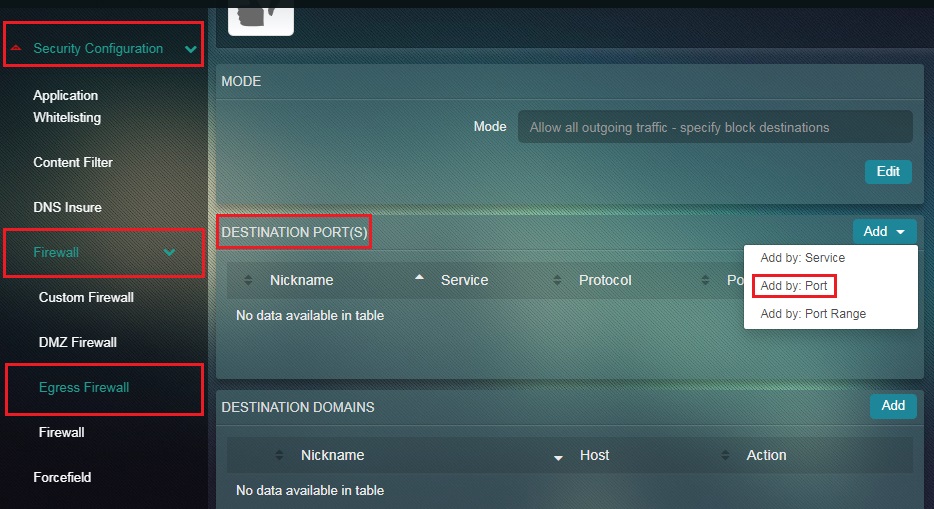 Step 3: You will now be directed to the Port Page. Enter the Nickname, select Protocol from the dropdown, enter the Port and then click the Add button.
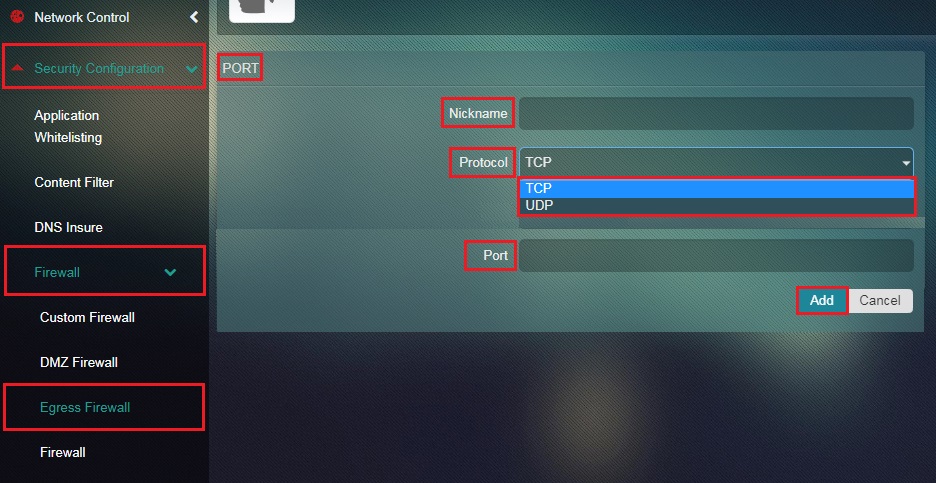
How to Block a Specific Port Range if Allow All Outgoing Traffic – Specify Block Destinations Mode Has been Selected?
Step 1: In the Egress Firewall application page, click the Add dropdown button in the Destination Port(S) section.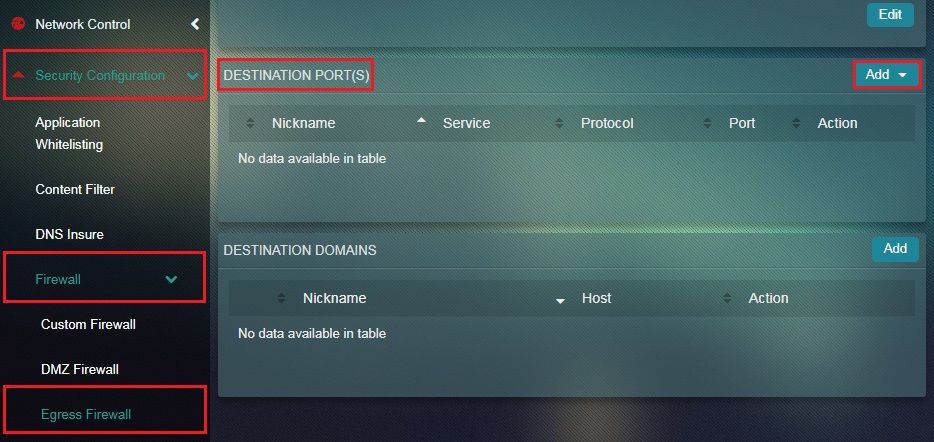
Note: Make sure you have selected Allow all outgoing traffic – specify block destinations in the Mode section.
Step 2: You will now see the options dropdown. Click the Add by: Port Range option. 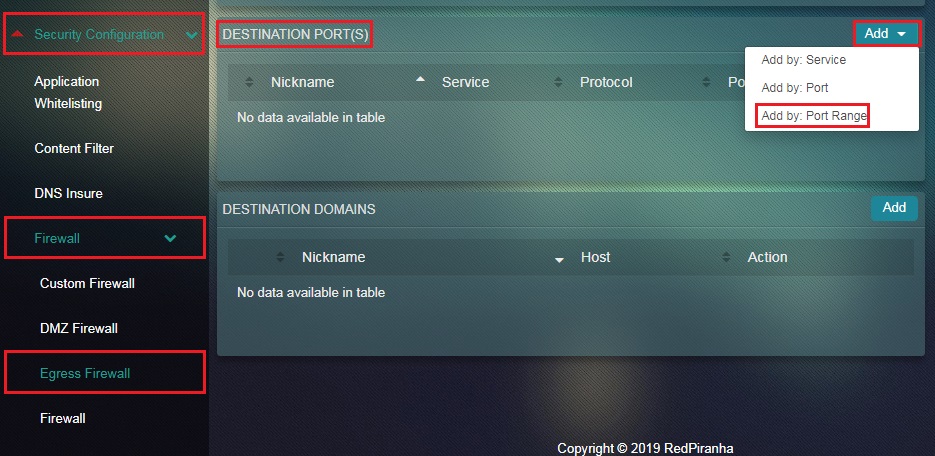 Step 3: You will now see the Port Range page. Enter the Nickname, select Protocol, enter the port range in the From and To textbox and click the Add button.
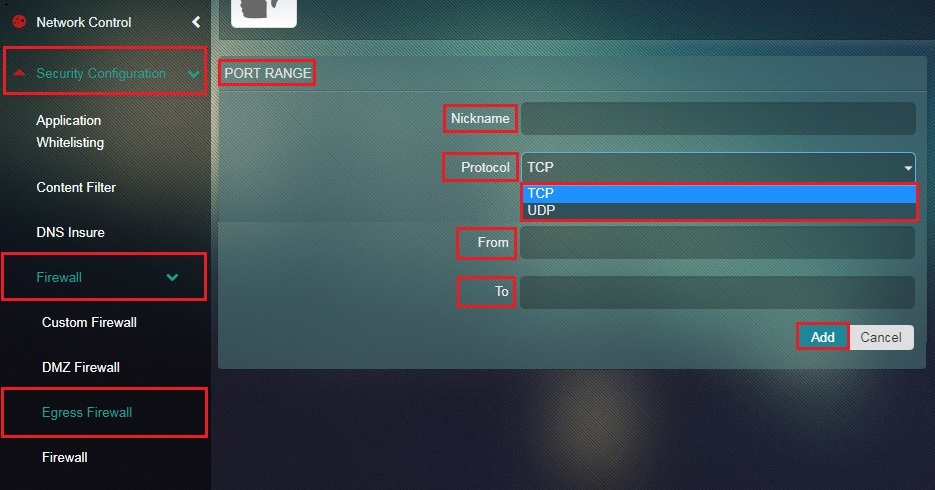
How to Allow a Specific Service if Block All Outgoing Traffic – Specify Allowed Destinations Mode Has been Selected?
Step 1: In the Egress Firewall application page, click Add dropdown button in the Destination Port(S) section.
Note: Make sure you have selected Block all outgoing traffic – specify allowed destinations in the Mode section.
Step 2: You will now see the options dropdown. Click the Add by: Service option.
Step 3: You will now be directed to the Standard Service Page. Select the Service that needs to be allowed from the dropdown and click the Add button.
How to Allow a Specific Port if Block All Outgoing Traffic – Specify Allowed Destinations Mode Has been Selected?
Step 1: In the Egress Firewall Application page, click Add dropdown button in the Destination Port(S) section.
Note: Make sure you have selected Block All Outgoing Traffic – Specify Allowed Destinations in the Mode section.
Step 2: You will now see the options dropdown. Click the Add by: Port option. Step 3: You will now be directed to the Port Page. Enter the Nickname, select Protocol from the dropdown, enter the Port and then click the Add button.
How to Allow a Specific Port Range if Block All Outgoing Traffic – Specify Allowed Destinations Mode Has been Selected? Step 1: In the Egress Firewall application page, click the Add dropdown button in the Destination Port(S) section.
Note: Make sure you have selected Allow all outgoing traffic – specify Allowed destinations in the Mode section.
Step 2: You will now see the options dropdown. Click the Add by: Port Range option. Step 3: You will now see the Port Range page. Enter the Nickname, select Protocol, enter the port range in the From and To textbox and click the Add button.
An administrator can allow or block a domain which could be certain networks or websites. The domain access can be denied or allowed by mentioning domain name, IP address or subnet.
Note: If Egress Firewall is configured to allow all outgoing network traffic, then a specific domain can be blocked. However, if the app is configured to block all outgoing network traffic then access to specific domains can be allowed.
How to Block Connections to a Domain if Allow all Outgoing Traffic – Specify Block Destinations Mode is Selected?
Step 1: In the Egress Firewall application page, click the Add button under the Destination Domains section.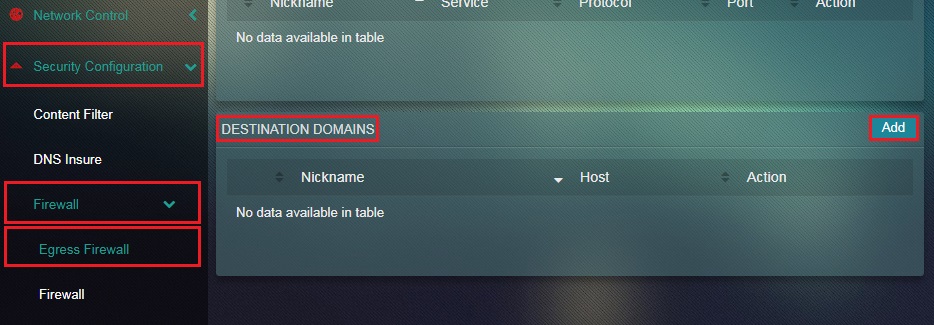 Step 2: You will now be directed to the Host Page. Enter the Nickname and Host in the textbox.
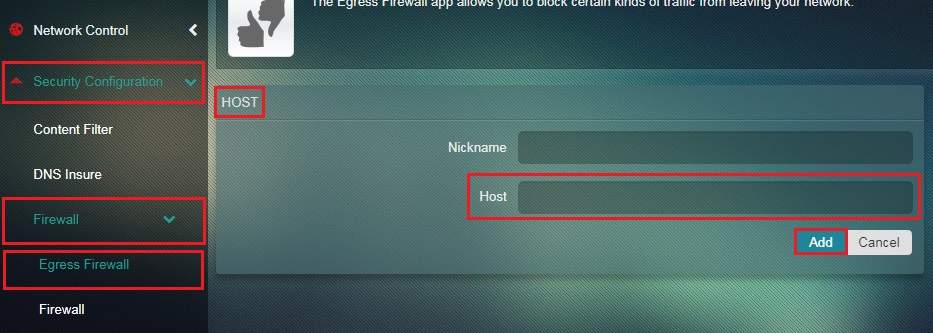
Note: It is advisable to block connections to the domain by blocking the entire IP range related to it. It is suggested so because, if the domain name is mentioned in the Host textbox and the IP address changes then the Egress Firewall will not block connections to the domain anymore.