Network Map
The Network Map app has advanced capabilities that provide enhanced visibility of various devices in the Crystal Eye network. The app also enlists various options that could be used to manage devices on the Crystal Eye network. The app also provides visual visibility of all the devices connected to LAN and WAN.
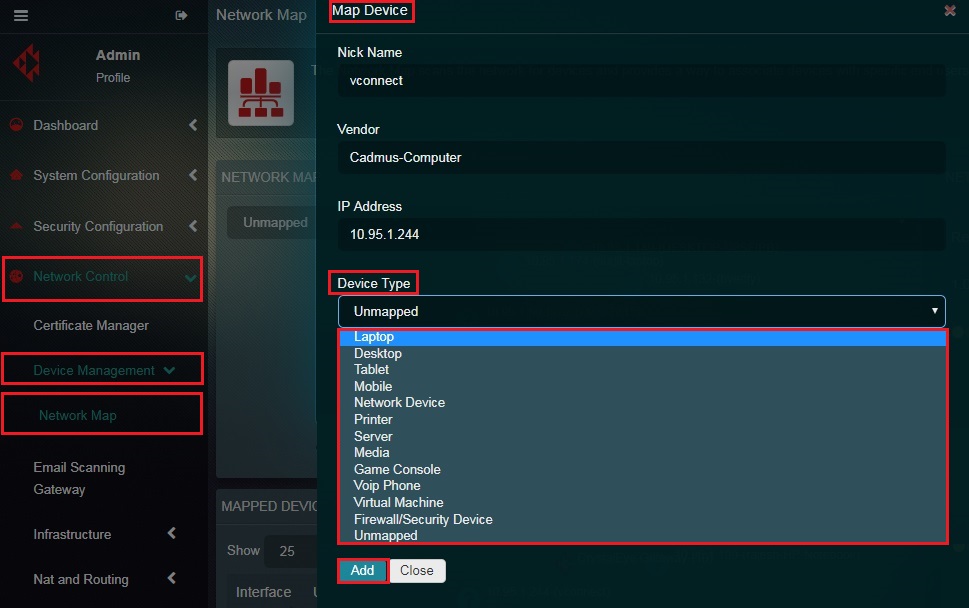
The administrator would essentially be able to see all the devices connected to the Crystal Eye Network under the unmapped category of the Network app. These devices can be identified and then be mapped by assigning it device type, Device Nickname, and Vendor Name. After identifying a particular device on the Network Map app the administrator can assign a Content Filter Policy to it as well.
Left-hand Navigation Panel > Network Controls > Device Management > Network Map 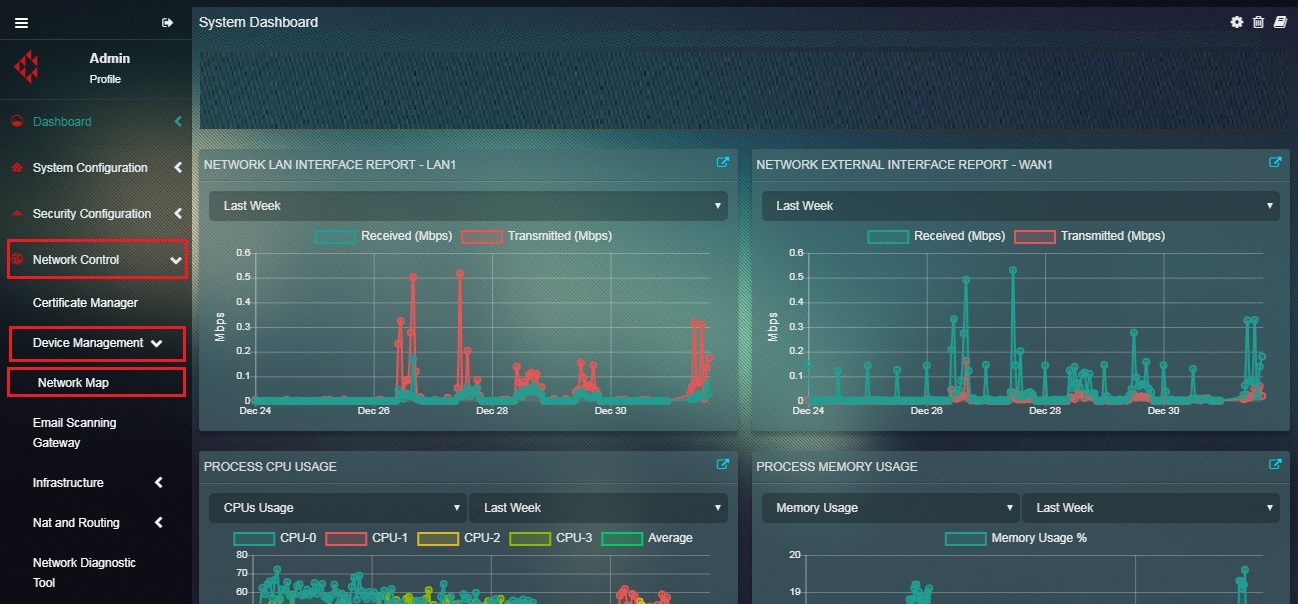 |
|---|
After a device is connected to the Crystal Eye Box it is visually represented in a Hub and Spoke diagram (Hub being the Crystal Eye Gateway and Spokes being the different devices connected to the Crystal Eye). Initially, all the devices connected to the Crystal Eye network will pop up in the unmapped category of the network map diagram. However, these unmapped devices can then be further categorized as per device.
How to Assign User Name, Nickname, Vendor, IP Address, and Device Type Using the Network Map Diagram in Crystal Eye Network?
Step 1: In the Network Map diagram under the Network Map section, click Unmapped Devices icon.
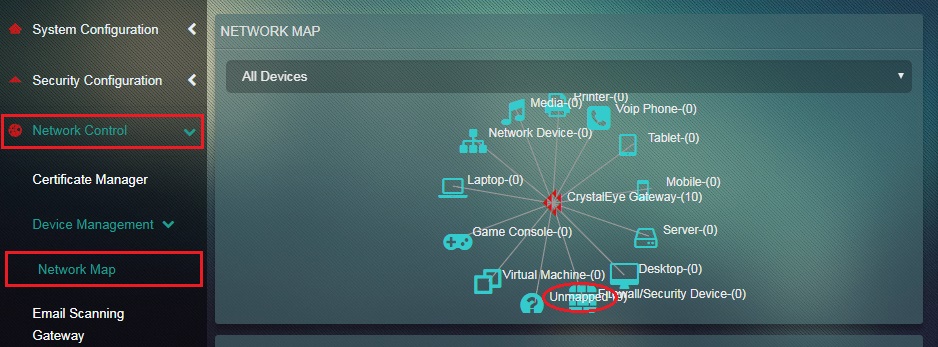
Step 2: You will now see a Hub and Spoke Diagram visually depicting the devices in the Crystal Eye network. Click the IP address of the device for which you want to assign a device type.
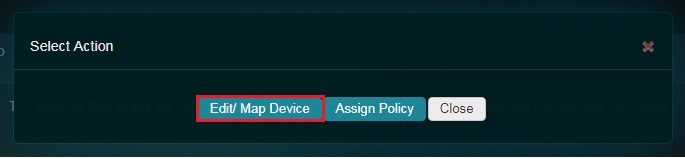
Step 3: You will now see a Select Action pop-up. Click the Edit/Map Device button.
Step 4: You will now see the Map Device pop-up. Select the User Name, Nickname, Vendor and IP Address in the text box.

Step 5: Select the device type from the Device Type dropdown and click the Add button.
Administrators can easily map and then assign content filter policies for a particular device shown in the network map diagram. The policies that pop-up as an option to choose from are the ones that are created in the Content Filter Engine App in the Security Configuration Category.
How to Assign a Content Filter Policy Using the Network Map Diagram in Crystal Eye Network?
Step 1: In the Network Map diagram under the Network Map section, click Unmapped Devices icon.

Step 2: You will now see a Hub and Spoke Diagram visually depicting the devices in the Crystal Eye network. Click the IP address of the device for which you want to assign a device type.
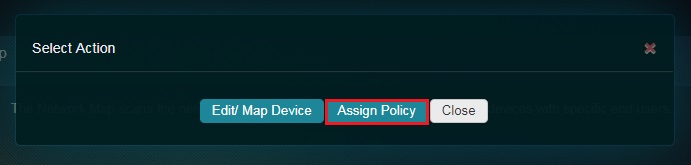
Step 3: You will now see a Select Action pop-up. Click the Assign Policy button.
Step 4: You will now see the Edit Content Filter Policy pop-up. Select the Policy Type from the dropdown and click the Update button.

Note: The policies that are shown as an option in the Edit Content Filter Policy pop-up are the policy names created in the Content Filter Engine application.