Web Access Control
Web Access Control allows an administrator to enforce time-of-day web access to groups or particular computers using web proxy. In order to enable Web Access Control features, the administrator will have to define the time period for which the web access restrictions are to be imposed. The secondary level of configuration involves tagging a user group, IP Address or a MAC Address with the applied time period restrictions.
Left-hand Navigation Panel > Network Control > Web Access Control  |
|---|
The administrator can define time restrictions for a user group, IP address or a MAC address to access the web and the restrictions can be further categorized to particular days of the week as well. The restricted time period can also be given a custom name which can be mapped later on with a user group, IP address or a MAC address.
How to Set Time of the Day Definitions?
Step 1: in the Web Access Control page, click the Add button under the Time of the Day Definitions sections.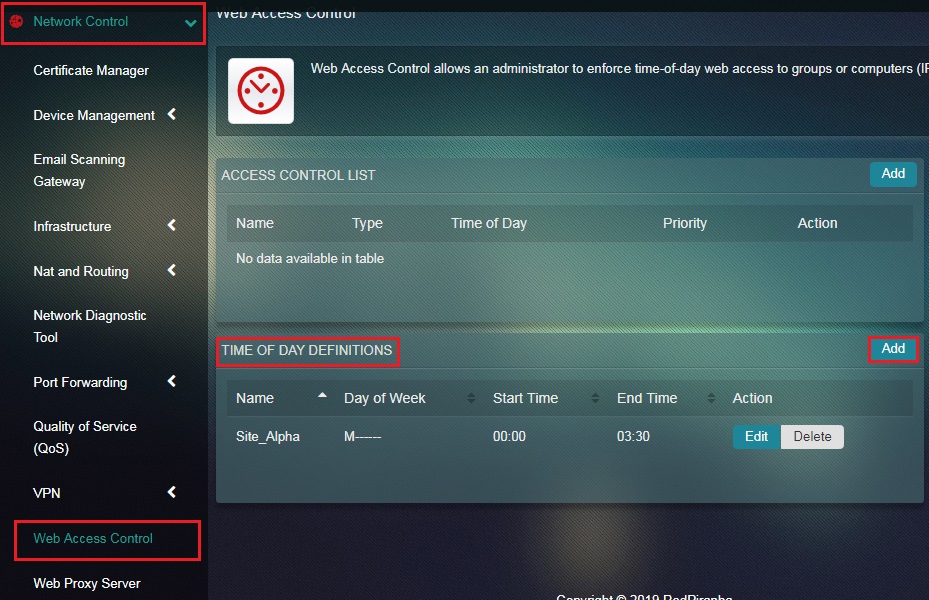 Step 2: You will now be directed to Add Time Period page. Enter a suitable Name for the Time Period in the textbox.
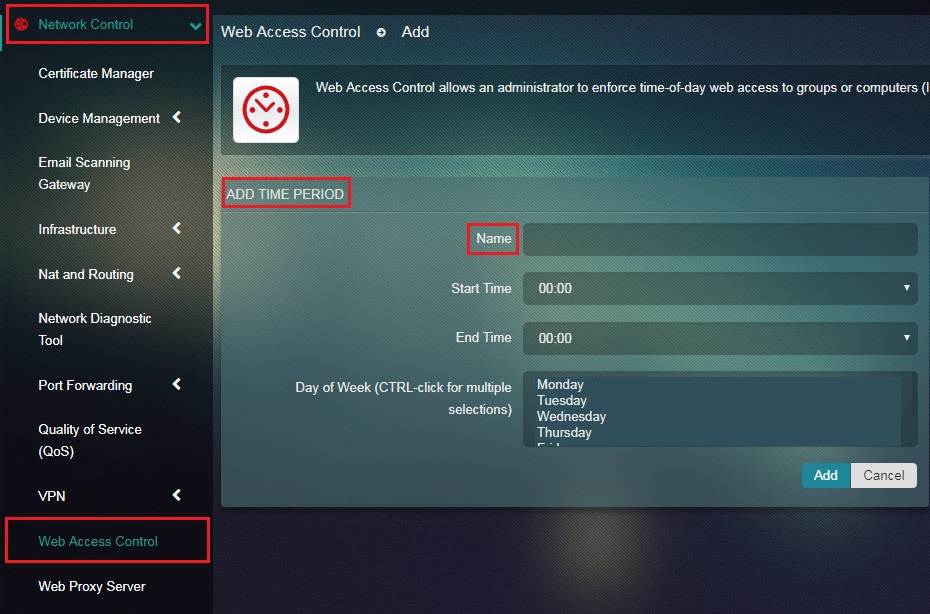 Step 3: Select the Start Time from the dropdown.
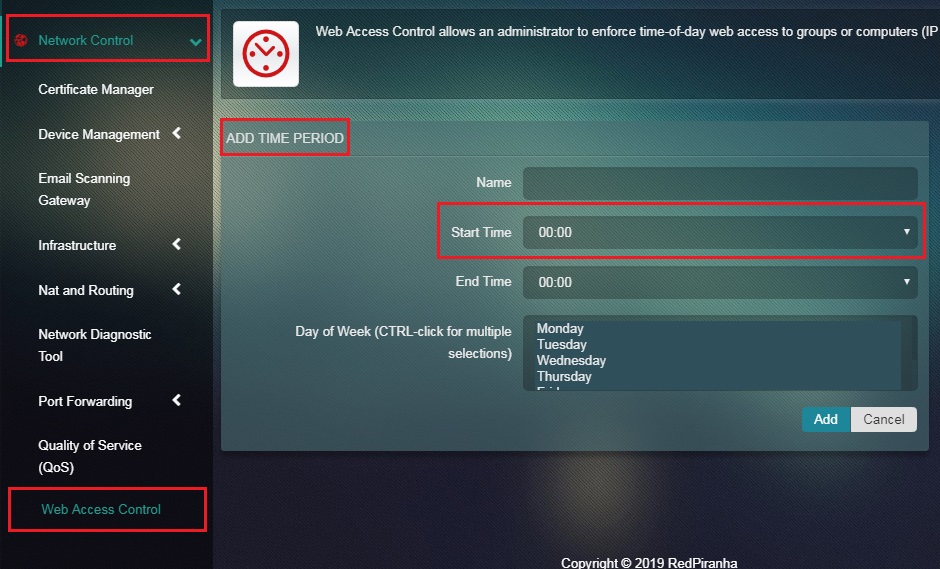 Step 4: Select the End Time from the dropdown.
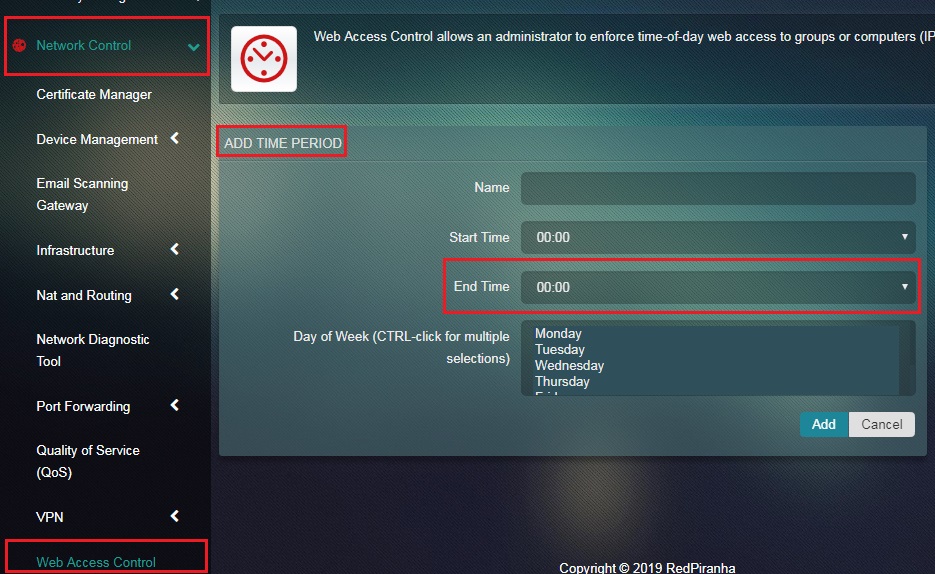 Step 5: Select the Days of the Weeks and click the Add button.
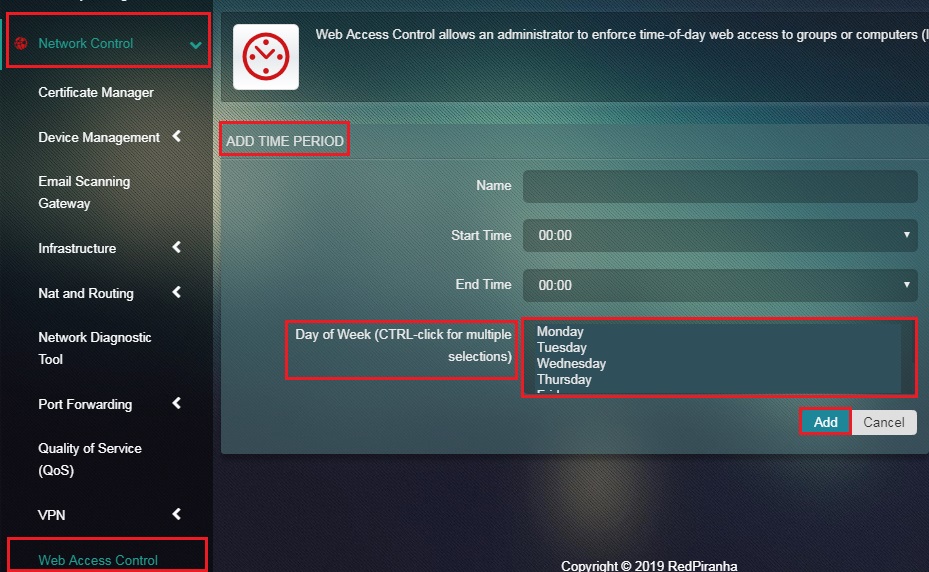
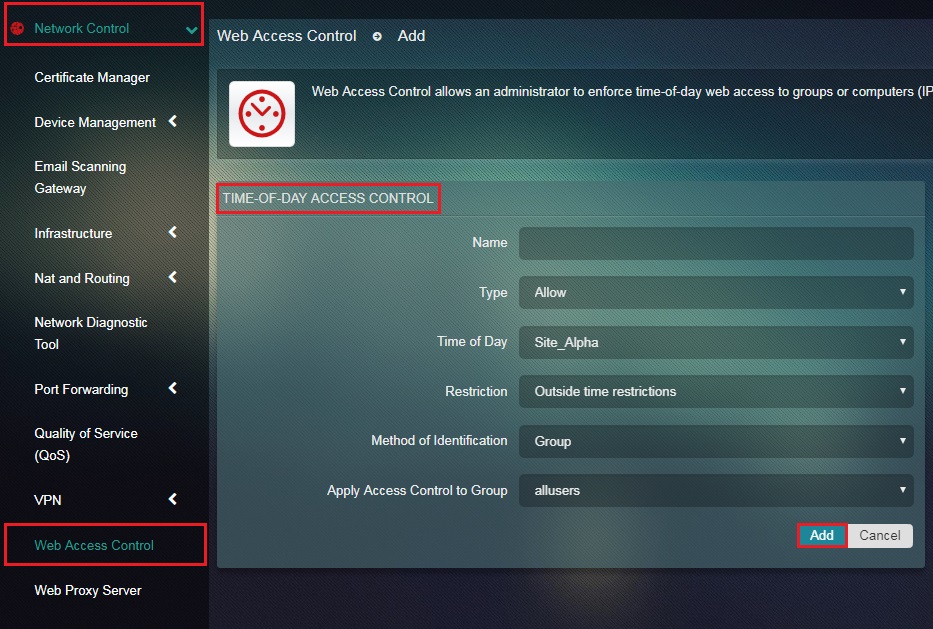
This section of the App enables the administrator to define various parameters related to the functionalities of the Web Access Control app such as whether to Allow or Deny access at a particular time interval. The Restrictions can also be further categorized as to whether the access is to be denied within the set time restrictions or out of it. The administrators can also easily Apply Access Control to Group, IP Address or MAC Address.
How to Apply Access Control to Group, IP Address or MAC Address?
Step 1: In the Web Access Control page, click the Add button under the Access Control List section. Step 2: You will now see the Time-of-Day Access Control section. Assign a Name to the selected access control list.
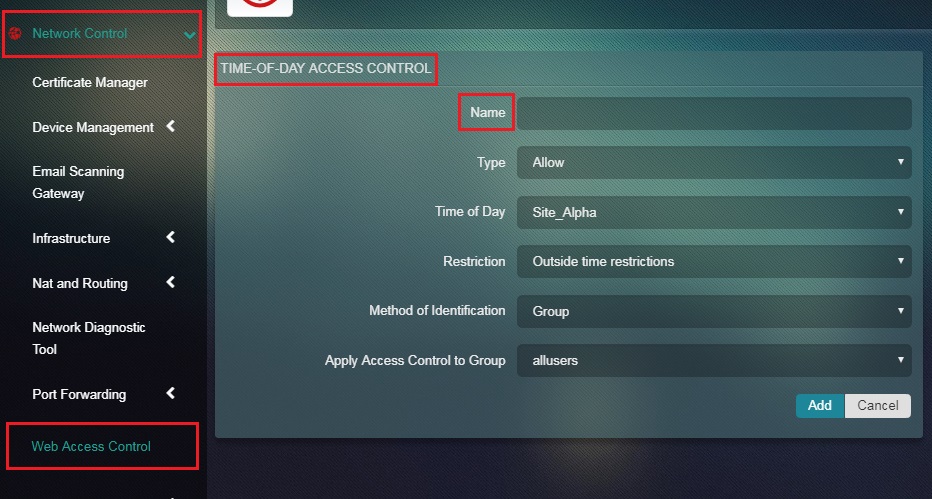 Step 3: Select Allow or Deny which defines as to whether the User Group, IP Address or the MAC Address must be allowed or denied access to the web for the selected Time Period.
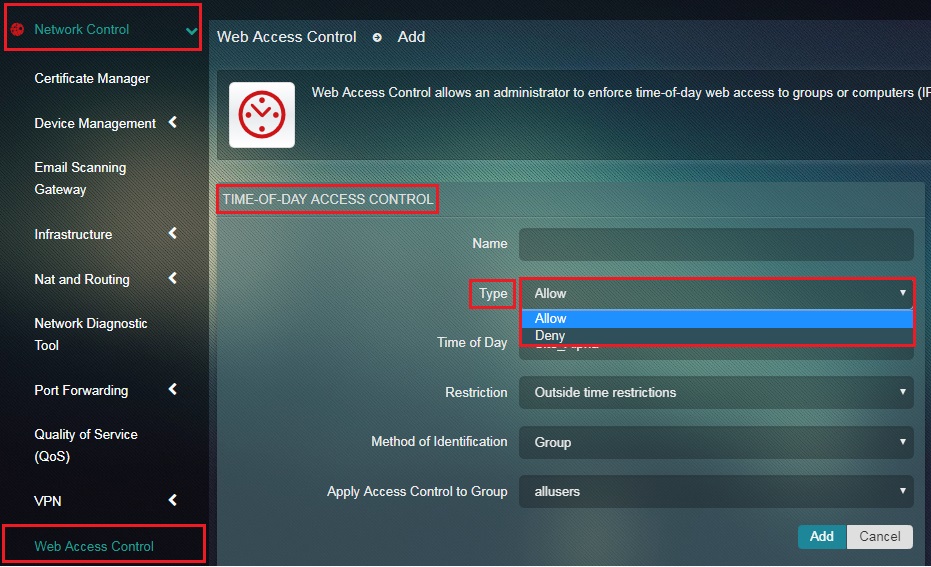 Step 4: Select the Time Period which was nicknamed in the Time of the Day Definitions.
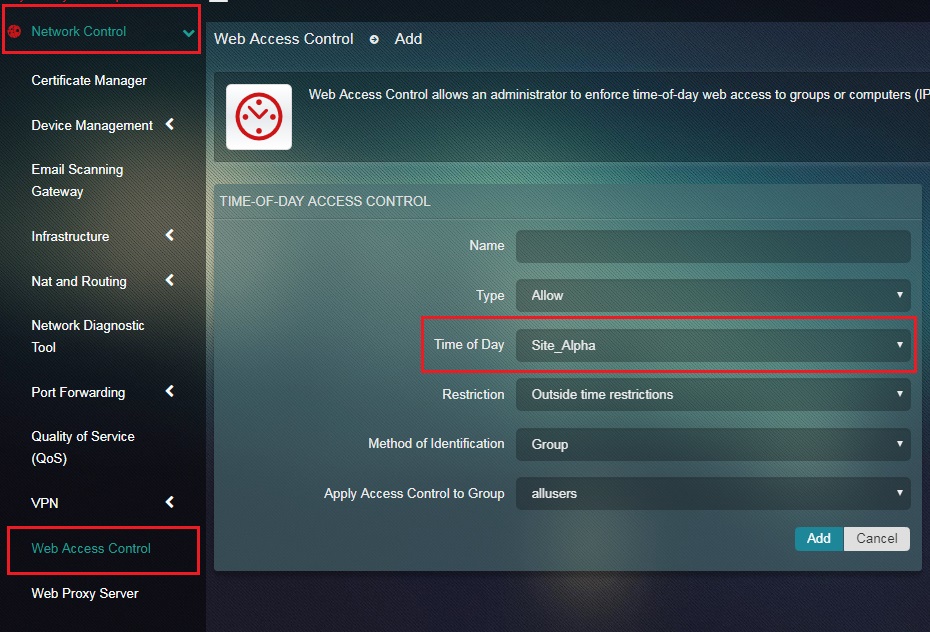 Step 5: Select the Restriction type as Outside Time Restrictions or Within Time Restrictions.
 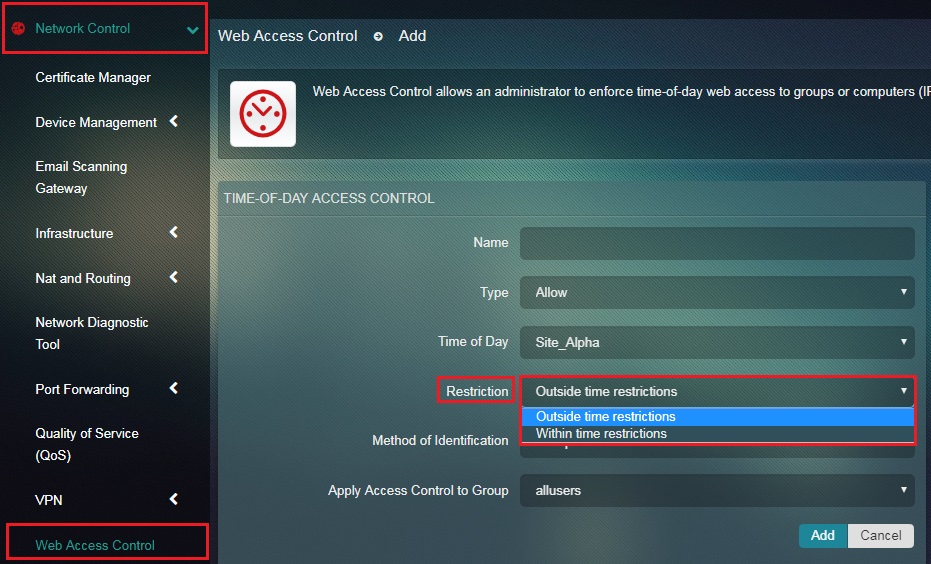 Step 6: Select the Method of Identification from the dropdown.
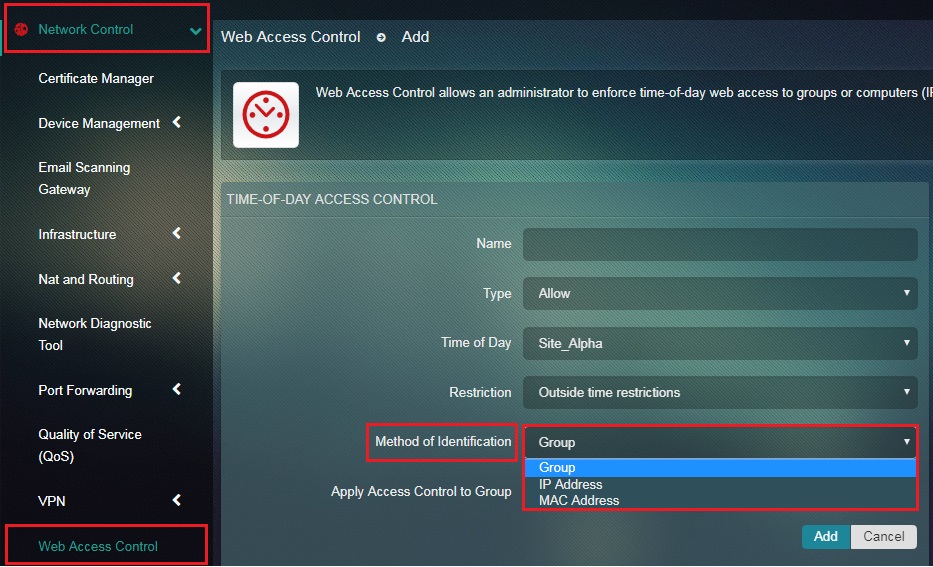
Note: The Method of Identification can either be Group, IP Address or a Mac Address. It essentially defines whether the Time Period restrictions are for a Group, IP Address or a MAC Address
Step 7: Based on the selected Method of Identification, select the User Group or enter the IP Address/Mac Address. 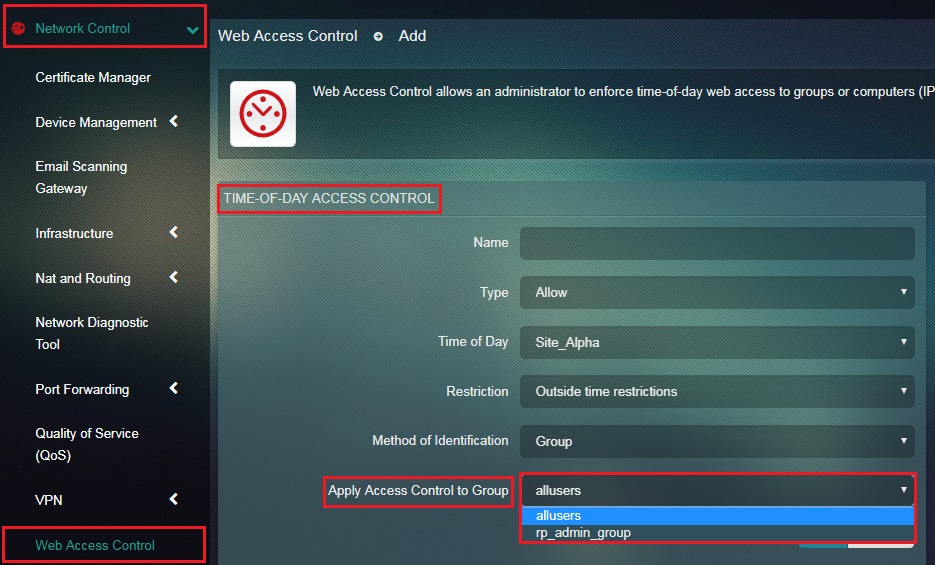 Step 8: Click the Add button.