Custom Firewall
The Custom Firewall provides elaborated configuration features that can be used to add custom firewall rules that may be necessary in some networking scenarios.
Left-hand Navigation Panel > Security Configuration > Firewall > Custom Firewall 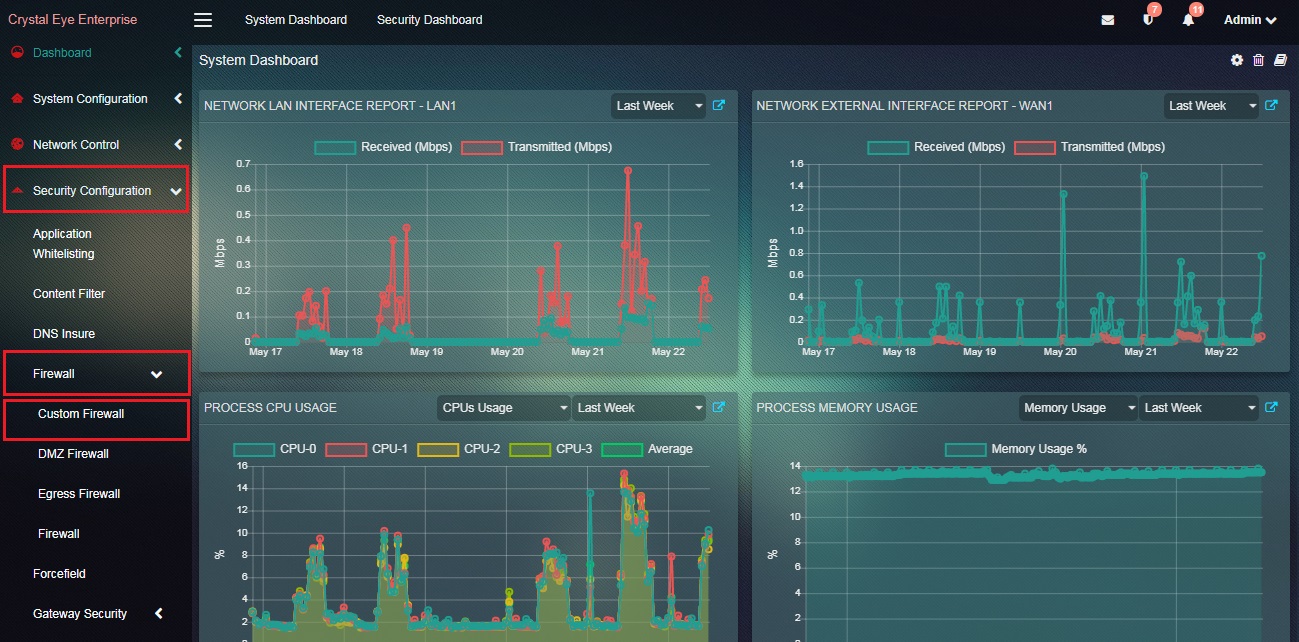 |
|---|
An advanced user can create custom firewall rules and add them through the Rules section. Some of the basic type of firewall rules that can be added are Inbound Rules, Outbound Rules, Connection Security Rules, and Monitoring Rules. Crystal Eye’s firewall rules added here support all IPv4 traffic.
Click the Add button in the Firewall Rules section to view the custom firewall configuration options. 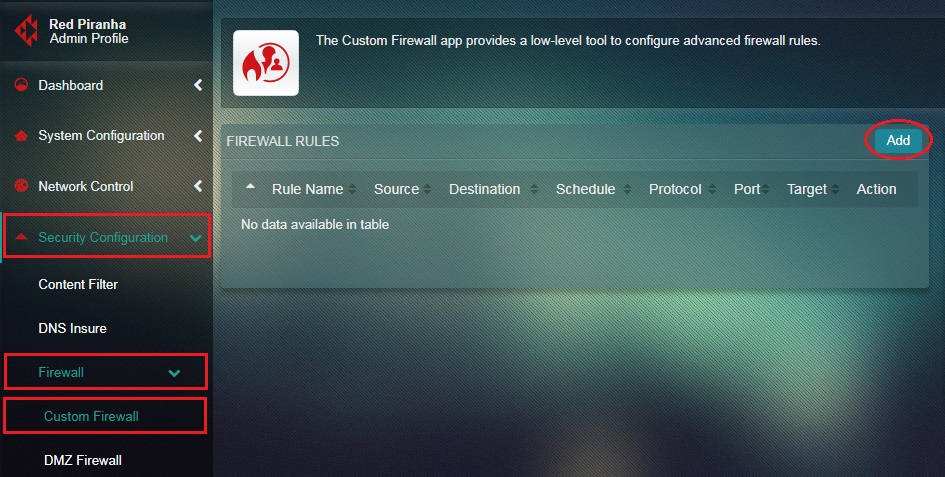
Note: You will now see the Rule page. Here you will see various custom firewall rules category such as Rule, Source, Destination, and Schedule.
The Rule section of the configuration page has fields to update Rule, Description, Position, Action, Logging, Type, and Services.
The following screenshot can be referred to know the positioning and functionalities of the field that fall under the Rules section. 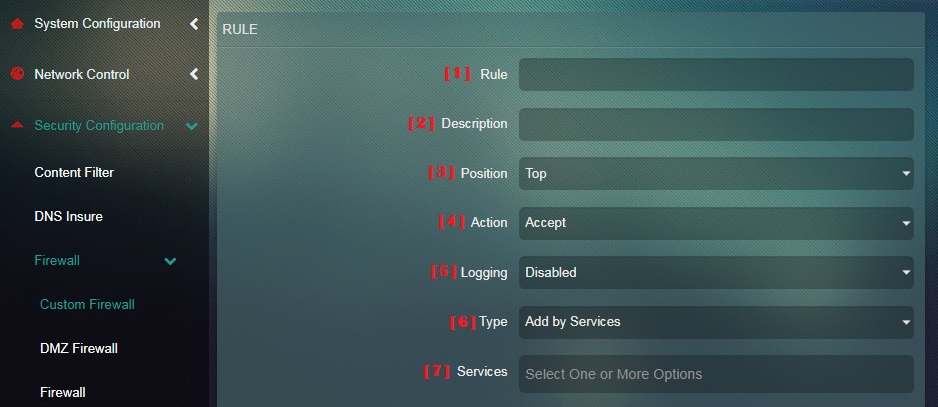
- Rule: (required) Allows user to set label for the custom iptable rule. This will form part as description in the iptable rules.
- Description: (required) Allows user to input more descriptions for the custom iptable rule.
- Position (Top Bottom): (required) Allows user to set the positioning of the custom rule from the existing iptable rules.
- Action (Accept/Drop): (required) Allows user to set the target action for the custom rule.
- Logging: (required) If enabled, adds logging feature to the custom rule.
- Type: (required) Allows user to easily set protocols and port by selecting a service from known Services list or by inputting single Port or Port Ranges.
- Services: If Services is selected in Type field, this field allows user to select from a set of services supported in CE. Protocol and Port is automatically defined depending on service selected.
- Port: If port is selected in Type field, this field allows user to input Protocol and Port in CE.
- Port Ranges: If port ranges is selected in Type field, this field allows user to input Protocol and Port Range (start/end of ports) in CE.
The Source section of the configuration page has fields to update Interface Type, Interface/Exception Interface.
The following screenshot can be referred to know the positioning and functionalities of the field that fall under the Source section. 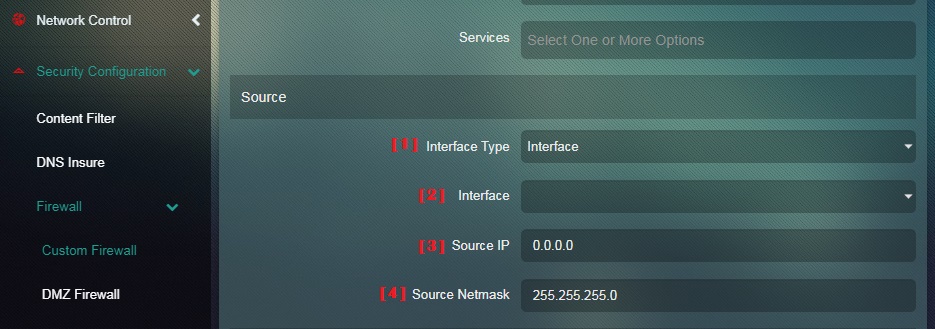
- Interface Type: (required) Allows user to easily set source interface or an exception of this source interface. Sets next fieldname as Interface or Exception Interface.
- Interface/Exception Interface: (optional) Allows user to set human readable interface names supported in CE (LAN, WAN).
- Source IP: Allows user to set source IP.
- Source Netmask: Allows user to set netmask of source IP.
The Destination section of the configuration page has fields to update Interface Type, Interface/Exception Interface, Destination IP, and Destination Netmask.
The following screenshot can be referred to know the positioning and functionalities of the field that fall under the Destination section. 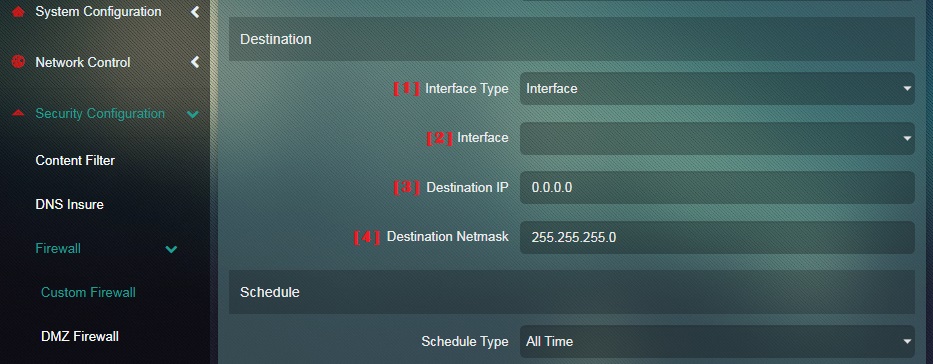
- Interface Type: (required) Allows user to easily set destination interface or an exception of this destination interface. Sets next fieldname as Interface or Exception Interface.
- Interface/Exception Interface: (optional) Allows user to set human readable interface names supported in CE (LAN, WAN).
- Destination IP: Allows user to set destination IP.
- Destination Netmask: Allows user to set netmask of destination IP.
The Schedule section of the configuration page has fields to update Schedule Type.
The following screenshot can be referred to know the positioning and functionalities of the field that fall under the Schedule section. 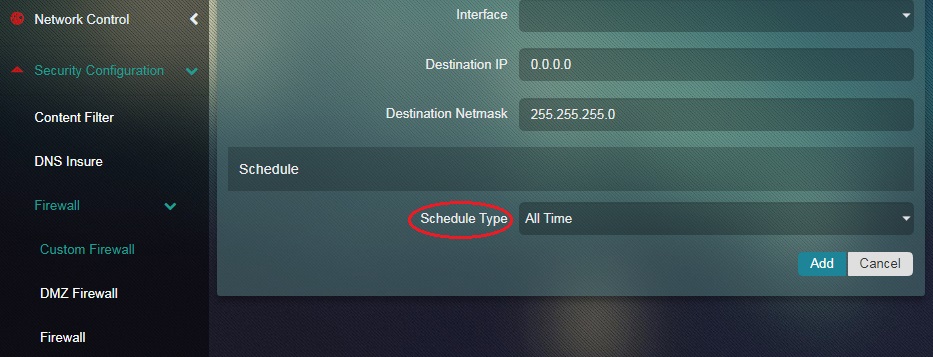
Schedule Type: (required) Allows user to set scheduling for the custom rule. Options include 'All Time' (default) or 'Custom' to allow more control for time and days of the week.